Lightroom Presets: Ultimate Free Guide for 2025
Adobe Lightroom is like the Swiss army knife for photographers and photo editors. It has all the right tools for quickly editing, enhancing, and processing photos. And you can take is everywhere you go, whether on your laptop or phone.
Lightroom is not just used to process photos. It’s actually capable of giving life to your photos. And helping photographers express themselves beyond the lens of a camera.
“Photoshop and Lightroom help me transform my photos into what my heart felt, but my camera couldn’t quite capture!”, says the award-winning photographer, Marius Vieth.
Whether you’re planning on using Lightroom for your work or already using it to improve photos, there’s so much more you can do with this software. And one of the best features in Lightroom is presets.
In this ultimate guide, we aim to cover all aspects of Adobe Lightroom presets. To help you discover the true potential of presets. We’ll guide you through everything from finding great presets to installing them in Lightroom and more.
Let’s get started.
What is Adobe Lightroom?
Adobe first released Lightroom back in 2007 as an app for organizing images and photos. It only had very basic editing tools. The main focus of the app was to help photographers and editors organize large collections of photos in a convenient way.
Over the years, the software was transformed into a powerful tool. Today, Adobe Lightroom is much more than just an image organizing tool. It’s now capable of optimizing photos, post-processing, and more.
Adobe Lightroom is now a tool photographers can’t live without. The beginner-friendly interface also make it a great Photoshop alternative for casual users as well. It’s perfect for enhancing smartphone photos, adding Instagram-like filters, and giving a professional look to photos without expert skills.
Lightroom is now available as a desktop app and a mobile app on Android and iOS devices. It also has a web-based app where you can access your cloud-synced photos and do basic edits.
What are Lightroom Presets?
Lightroom Presets is a feature within the software that’s designed to help you save time, edit photos with just one-click, and process large batches of photos more easily.
A Lightroom preset is like a set of pre-defined settings and adjustments for photos. So that you can apply the same adjustments without having to do any manual work.
For example, if you adjust the exposure, color, and brightness of a wedding photo using Lightroom, you can save all the adjustments you’ve made as a preset. And then open all the other photos in the same wedding photoshoot and apply the same adjustments by simply loading the preset. It only takes just one click.
Finding & Installing Lightroom Presets
A great thing about Lightroom Presets is that you can also download presets made by other users and install them to use as your own to edit your photos.
Most of these presets are made by professional photographers. They allow you to apply filters, effects, and adjustments to photos almost instantly.
Where Can I Find Free Lightroom Presets?
The best Lightroom presets made by professionals are available on premium marketplaces such as Envato Elements. However, as a beginner, you’d want to try out a few free presets before investing in premium presets.
You can start by checking out some of these sites for free presets.
PresetPro
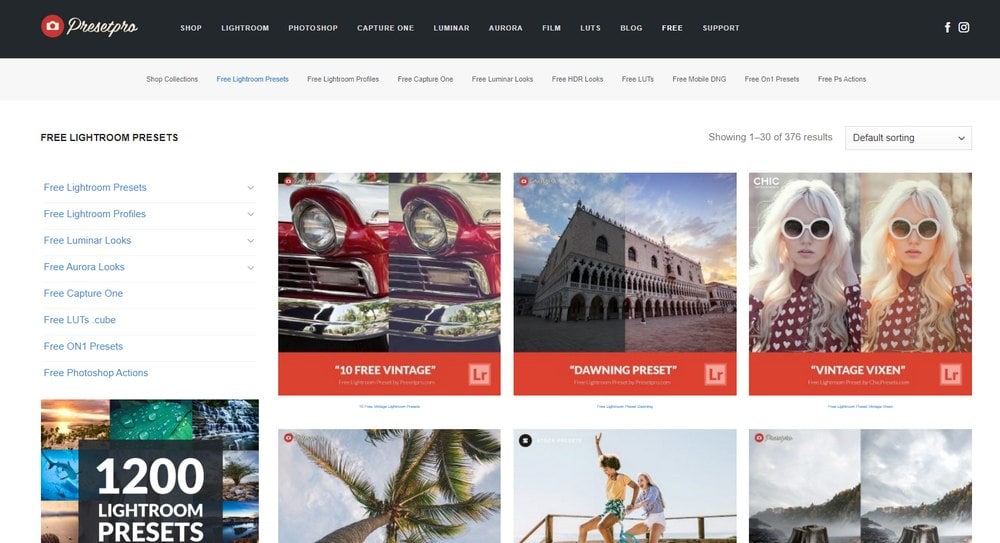
This site has a massive collection of free Lightroom presets featuring various types of effects. There are presets for enhancing portrait photos, landscape photos, and more.
PresetLove
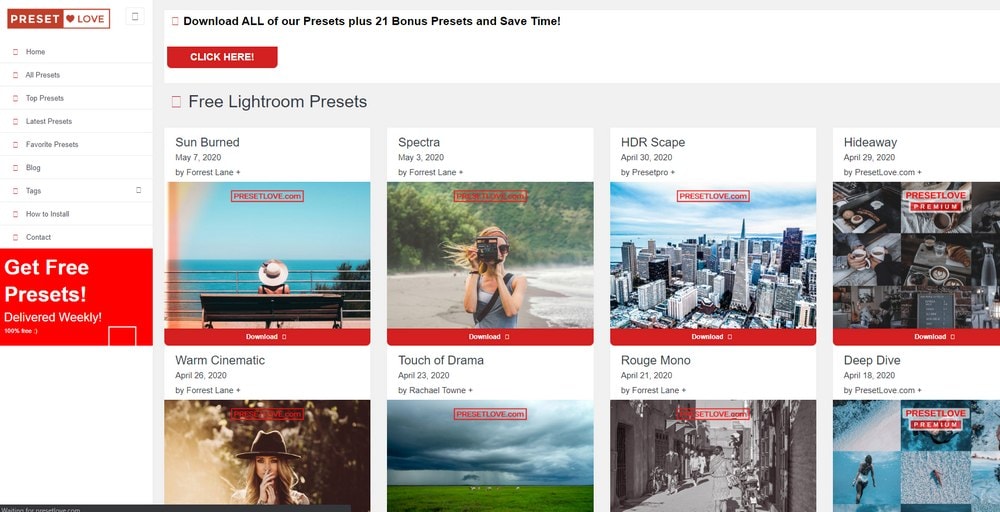
PresetLove is another website that includes a collection of over 300 free Lightroom presets. The presets available on this site are better in quality than most other free sites.
Dribbble
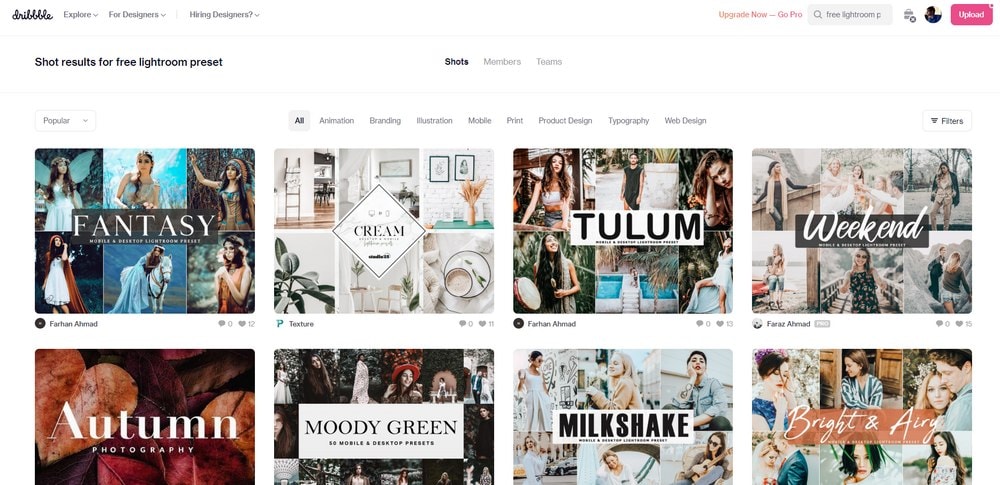
Dribbble is a networking platform where designers and creative professionals create portfolios to share their work. The site is filled with lots of freebies, including free Lightroom presets.
Photonify
Photonify is a marketplace for Photoshop and Lightroom presets. It also has a collection of unique Lightroom presets that are definitely worth a download.
In addition, you can also browse our free Lightroom presets collection for a handpicked selection of amazing free presets.
How to Download Lightroom Presets
To download Lightroom presets, all you have to do is visit one of the sites we’ve mentioned in the previous section, find a preset you like, and click on the Download button.
Some sites will ask you to register a free account before downloading. Some will send the download links via email as well.
When using premium marketplaces like Envato Elements you’ll be able to easily initiate the download without any delays and you’ll have full access to the presets you download.
How to Add & Install Lightroom Presets
Installing presets in Lightroom involves a few steps.
Step 1: Extract the ZIP File
Your downloaded Lightroom preset will be available as a ZIP file. Go to the Downloads folder on your computer and locate this ZIP file. Then extract the contents of the ZIP file.
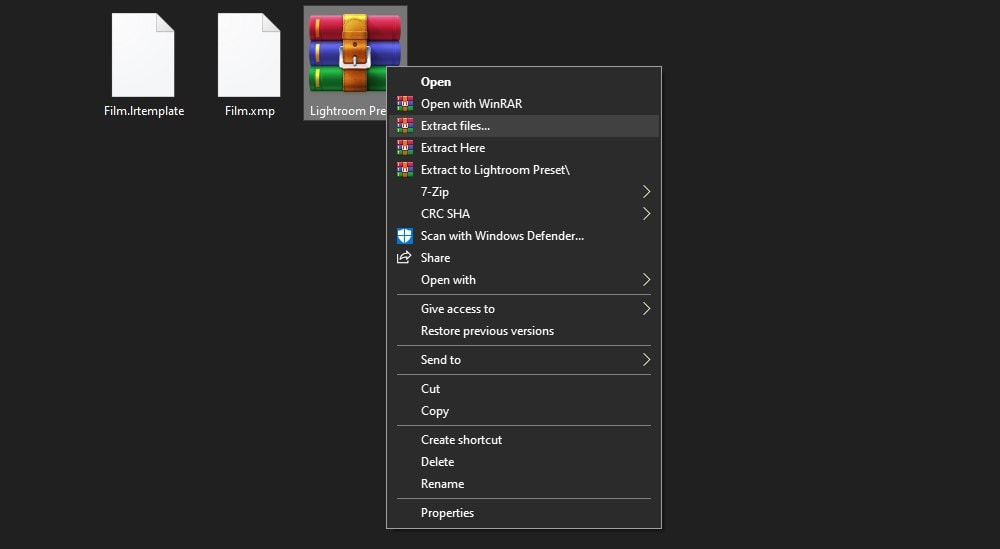
You’ll find a .LRTEMPLATE or .XMP file among the extracted file. This is the preset file you’ll install in Lightroom.
Step 2: Install the Preset
Now launch the Lightroom app and make sure you have a photo loaded into the app.
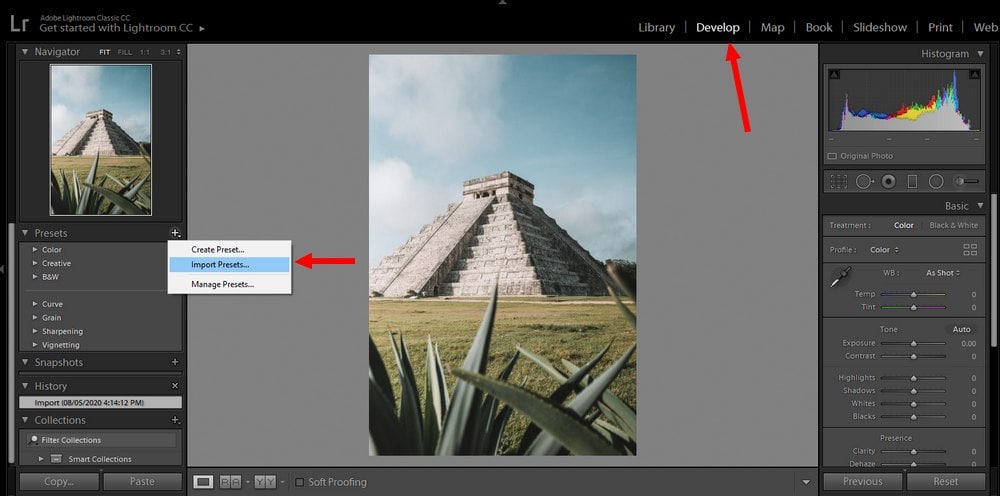
Then switch over to the Develop tab.
On the left side of the app, you’ll now see a panel called Presets. Click on the plus icon (+) on this panel and select Import Presets.
Locate your downloaded .LRTEMPLATE or .XMP file and open it. That’s it!
How to Import Presets Into Lightroom CC
Installing presets in the new Lightroom CC app works similarly to the Lightroom Classic app with a few changes in the menu locations.
First, follow the initial steps to extract your downloaded preset files.
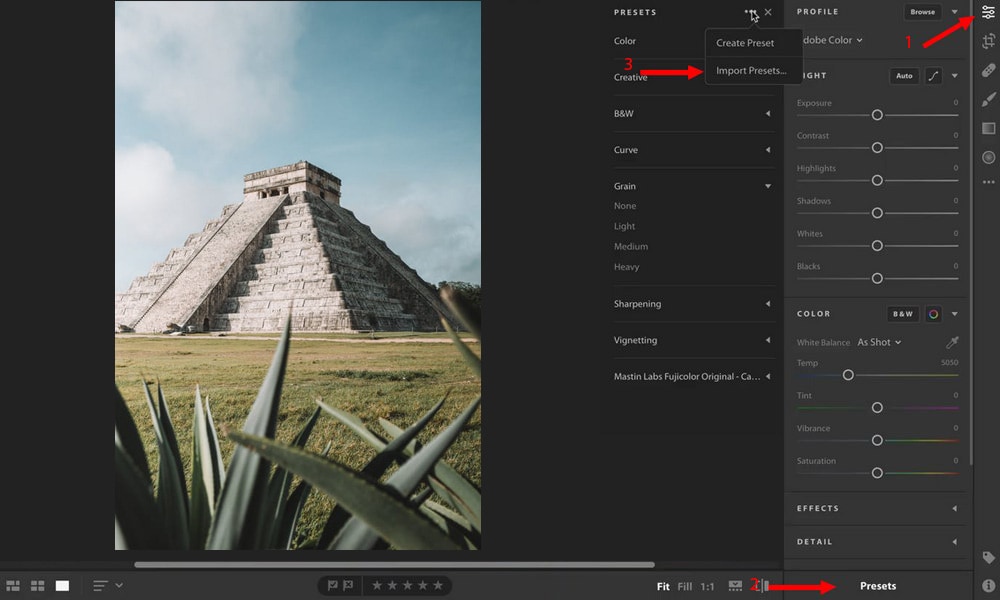
- Then open Lightroom CC and click on the Develop button on the upper right-hand corner
- Click on the button called Presets at the bottom of this panel
- Then click on the three dots that appear on the Presets panel and select Import Presets
- Locate your downloaded .LRTEMPLATE or .XMP file and click Import
How to Use Lightroom Presets
Using presets is the easiest part. It only takes one click.
First, open the Develop tab and go to the Presets panel.
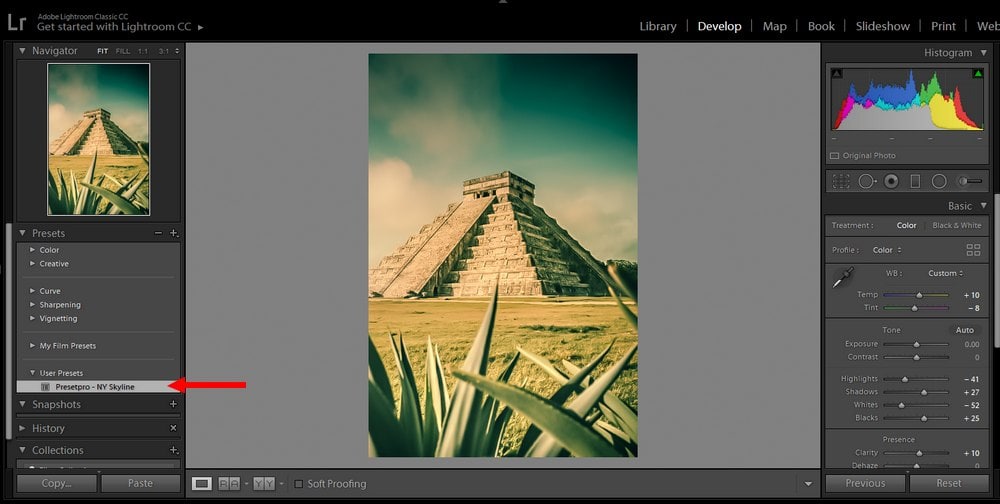
All your installed custom presets will be listed under User Presets section. Expand the User Presets section. And, to apply a preset to a photo, simply click on a preset and it will automatically apply the preset to your photo.
If you don’t like the look of a preset or feel like it requires a bit of adjustment, you can edit the effect using the Adjustments panel. Feel free to customize each setting and experiment with your own creations as well.
How to Organize Lightroom Presets
Once you install many different Lightroom presets, it will be difficult to keep track of the effects and filters. So it’s important to organize your presets from the very beginning.
On Lightroom, you can organize your presets into different folders so that you can easily find the presets you want without wasting time.
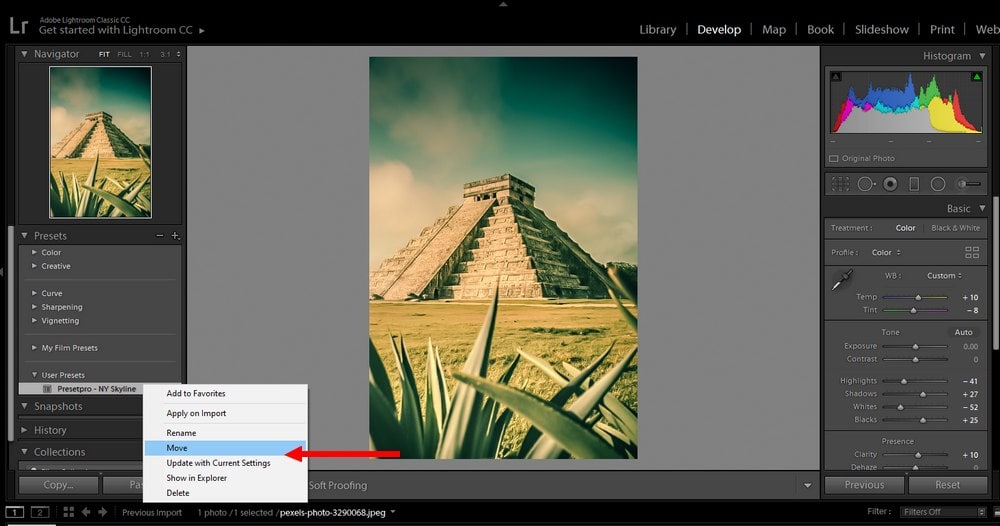
Simply select a single or multiple presets. Then Right-Click and select Move.
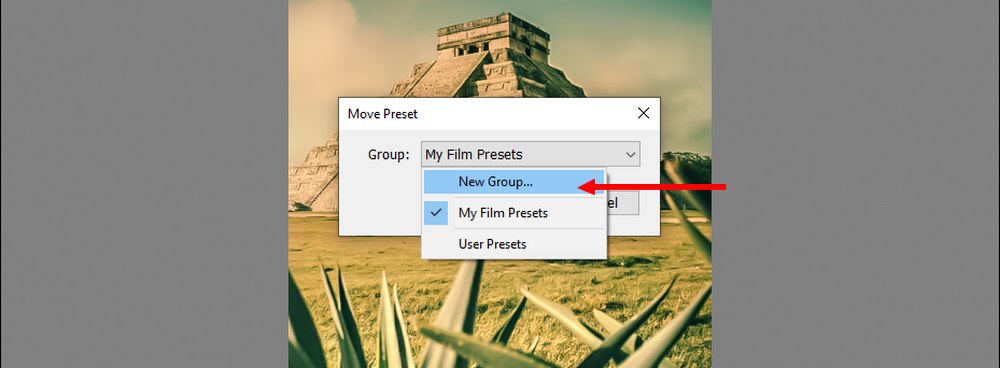
From the dialog box, select New Group.
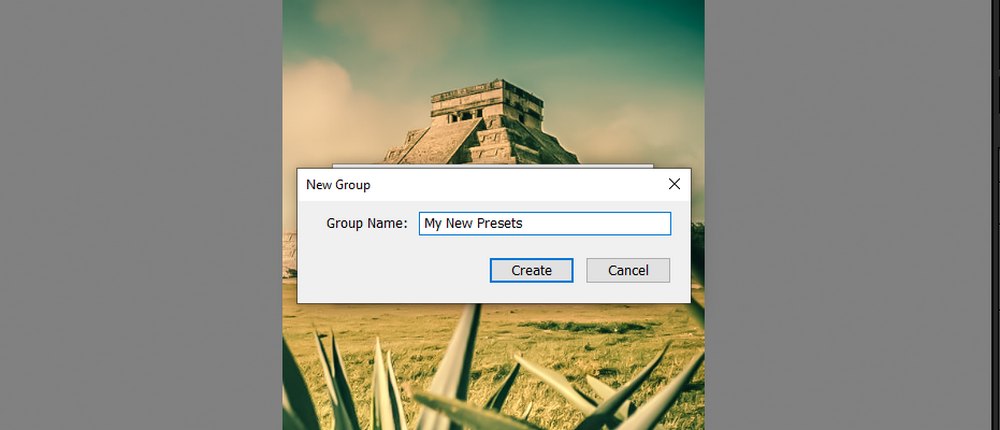
Give your new group a name and click Create. This will create a new group inside your Presets panel and add the selected presets into that group.
Creating & Exporting Your Own Lightroom Presets
The adjustments panel in Lightroom offers an easy way to experiment with different effects and settings. While you’re experimenting, you’ll stumble onto unique effects. Saving these effects as a preset will allow you to use them in the future with many other photos.
So if you ever want to create your own presets, here’s how it works.
How to Create & Make Lightroom Presets
The first step— it’s totally up to you. Go experiment with the Lightroom adjustments and settings. Get creative until you see your photo transform with an awesome effect.
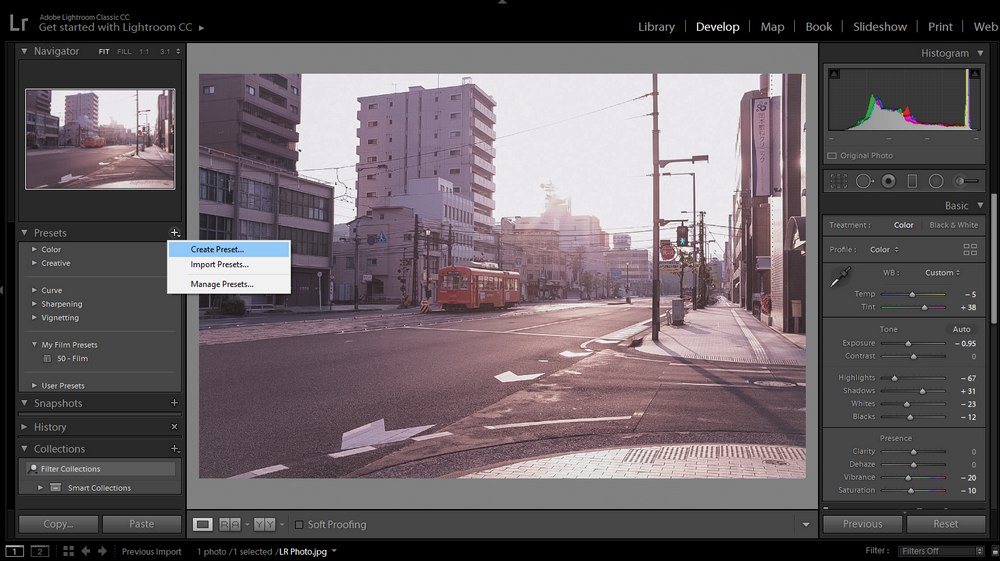
Now, to save those settings as a preset, simply go to the Presets panel. Click on the Plus (+) icon and select Create Preset.
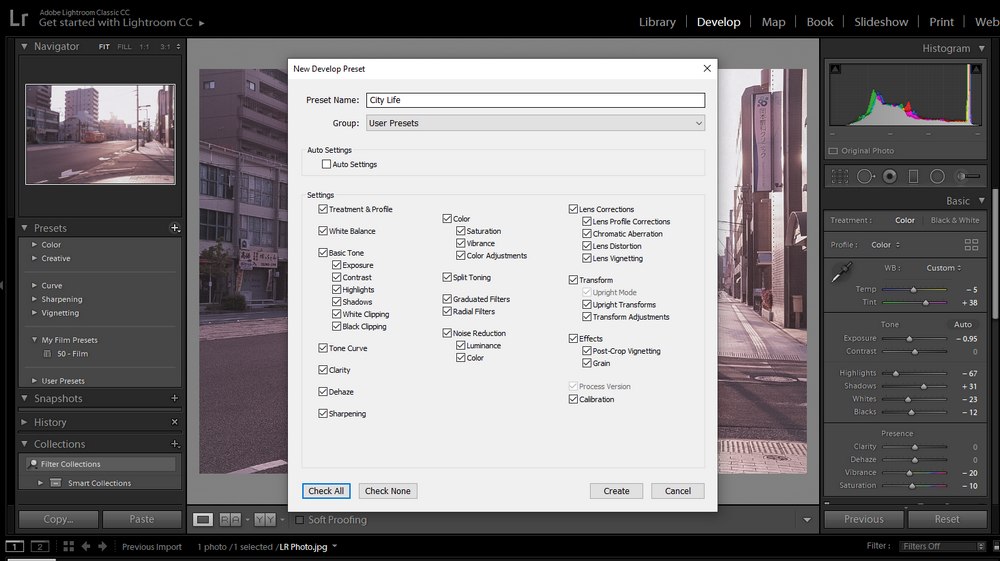
On the Create Preset window, give your new preset a name. And click on Check All button to include all the adjustments you’ve made into the preset. Then click Create and you’re done.
How to Export Lightroom Presets
Whenever you create a preset in Lightroom, the app creates a separate .XMP file for each preset. So there’s no need to export a preset. All you have to do is locate the XMP file for the preset and copy it.

To do this, go to the Presets tab in Lightroom. Select the preset you want to export, right-click on the preset, and select Show in Explorer.
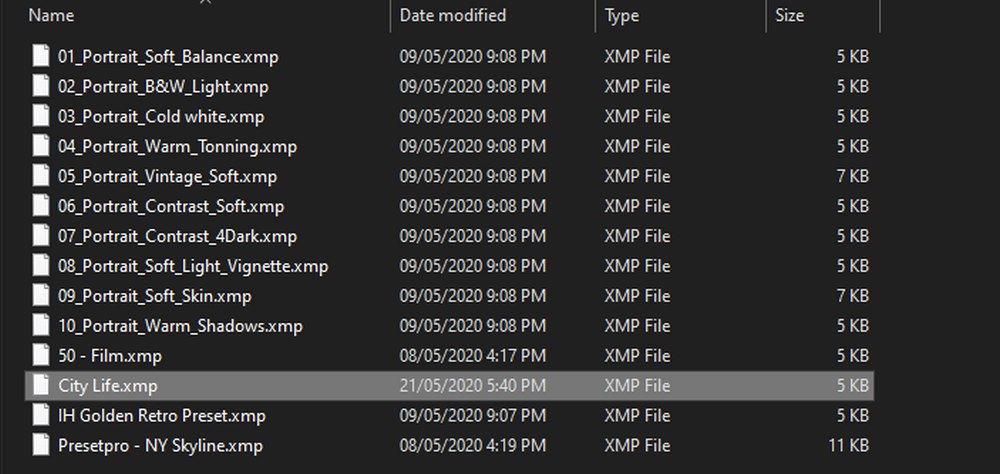
This will show your saved Presets file. Simply copy-paste this file to share it anywhere or with anyone you want.
Where are Lightroom Presets Stored?
Lightroom preset files are located deep within your computer. You need to travel far to find the folder where all your presets are located.
For Lightroom Classic on Windows 10, the preset files are located in C: > Users > (your username) > App Data > Roaming > Adobe > Camera Raw > Settings > User Presets.
The easiest way to locate this folder is to right-click on a preset in Lightroom app, and select Show in Explorer. This will instantly open the User Presets folder.
How to Sell Lightroom Presets
Once you start creating your own Lightroom presets, you can even share them with others. Some professional designers even sell Lightroom presets online. And make quite good profits from it.
In order to sell a Lightroom preset, it needs to be in great quality and offer some value to the users. Simply put, you need to be really good at Lightroom and understand how photography works to create professional-quality presets.

After creating a preset, you can sell them on design marketplaces. Envato Elements and GraphicRiver are the two main platforms for selling Lightroom presets. All you have to do is sign up as a creator, setup a page, and upload your collection of presets to start selling.
Or, you can also sell your presets via platforms like Sellfy. If you have an audience on a social network or a blog, selling presets using Sellfy will be quite easy. And it will help you earn more profits.
Using Lightroom Mobile
You can also use presets with the Lightroom mobile app. Lightroom mobile app is actually free to download and use with limited access. The best part is you can use presets with the free version too.
Here’s how it works.
How to Add Presets to Lightroom Mobile
There are two ways to add presets to Lightroom mobile. The easiest way is to buy the Adobe Lightroom subscription. It gives you access to Adobe Creative Cloud. And then you get to easily sync your presets on the Desktop app with the mobile app by connecting your account.
The other method is to manually import presets using the Lightroom mobile app.
First, download your Lightroom mobile preset. If it comes as a ZIP file, extract it. If you’ve downloaded the file onto your phone, use the RAR app for Android or iZip app for iOS to extract the ZIP file.
Inside the extracted folder, you’ll find a file with a .DNG file extension. This is the file format for Lightroom mobile presets.
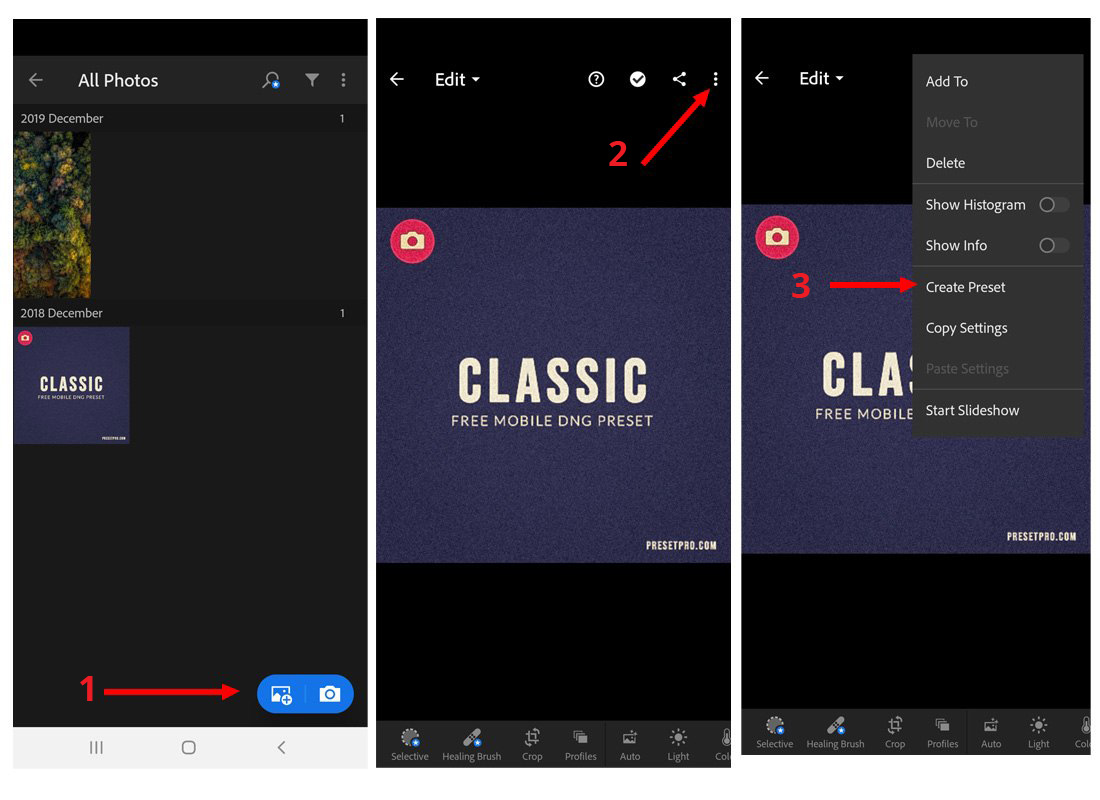
- Now open the Lightroom mobile app and switch to the Library. Tab the import photo button and open your extracted DNG file.
- Open the imported DNG file and tap on the three dots icon.
- Now select Create Preset option.
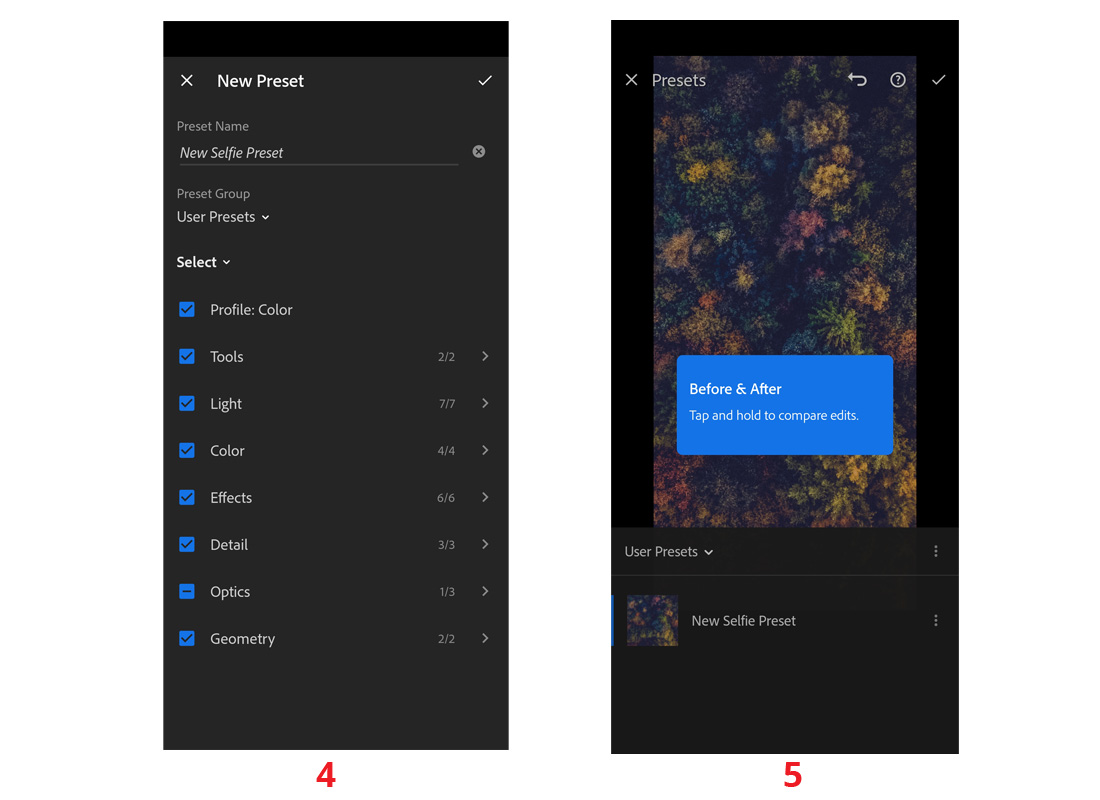
- Give your new preset a name and make sure to check all the tick boxes on this page.
- That’s it. Now your new preset will appear in your mobile presets library.
How to Sync Lightroom Presets to Mobile
As we’ve mentioned earlier, the easiest way to sync Lightroom presets from your desktop to the mobile app is to own the Adobe Lightroom subscription.
To sync your Lightroom presets with the mobile app, you’ll need to use the new Lightroom CC app. Make sure that you’re signed-in to the Adobe Cloud from Lightroom CC. And whenever you add a new preset in the desktop app, it will be automatically synced with the mobile app as well.
Or, if you don’t have Lightroom CC and want to transfer some DNG files from desktop to your phone, then use a cloud storage service like Dropbox or Google Drive. Upload the DNG files to your cloud storage and download them from your phone. And follow the steps we showed in the previous section to install the preset.
How to Save & Export Photos in Lightroom Mobile
Lightroom mobile app is fairly easy to use. But the option for saving photos is actually hidden away in a misleading way.
To save a photo that you’ve edited in Lightroom, you have to click on the Share icon on the app. And then choose Save to Device to export the image. This will save your edited image on a separate folder on your device.
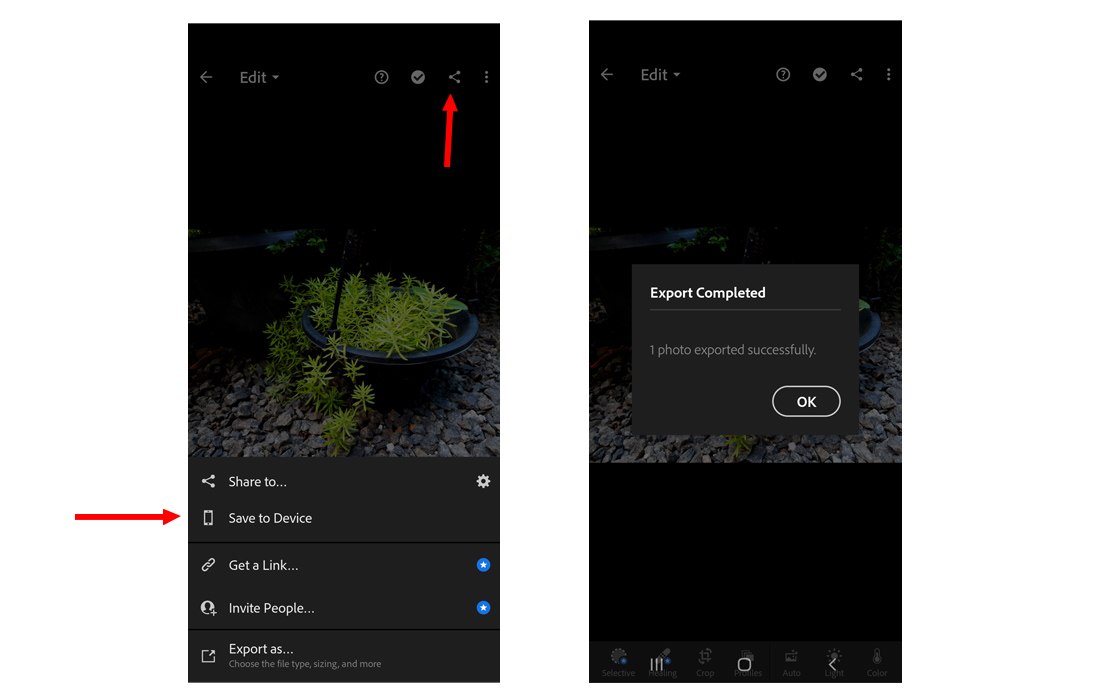
On Apple devices, follow the same steps. Click on the share icon and select Export As. Then choose the file type you want to save the image along with other options you need to customize. And tap save.
What Makes a Good Lightroom Preset?
You’ll come across thousands of free and premium Lightroom presets while browsing the Internet. It’s important to be able to make the distinction between a bad preset and a great preset. It’s the key to creating high-quality and professional photography.
The best way to learn about quality is to look at some of the best Lightroom presets in different categories.
Portrait Lightroom Presets
Everything from the close-up photos taken from a DSLR camera to a smartphone selfie can be considered a portrait photo. There are Lightroom presets specially made for optimizing portrait photos.
There are presets for smoothening skin, adding filters, adjusting colors, and more. Here are a few examples of great portrait Lightroom presets.
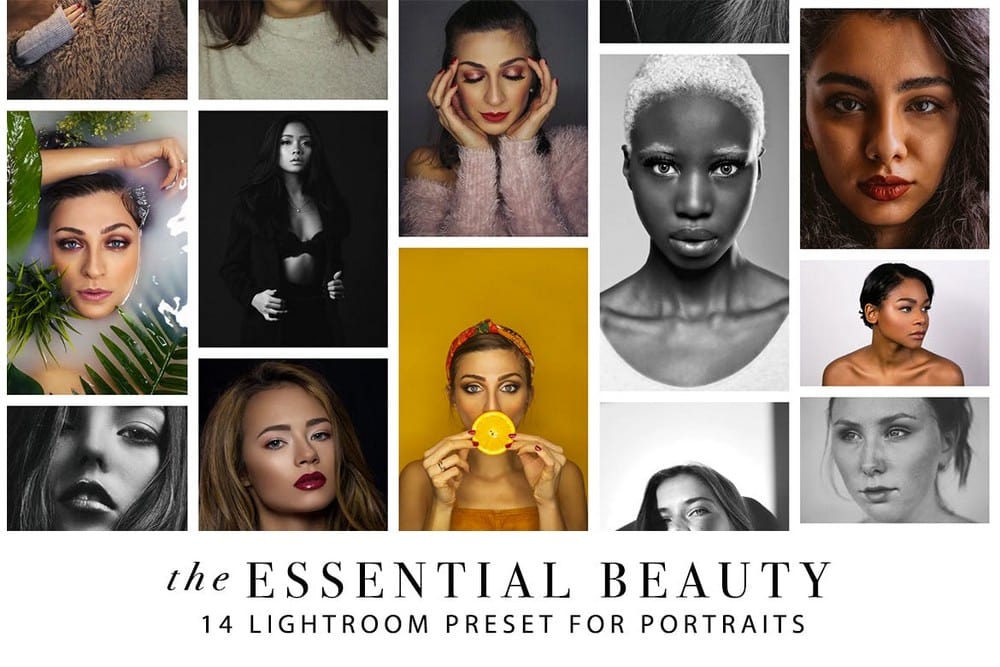
Lightroom Presets for Portraits
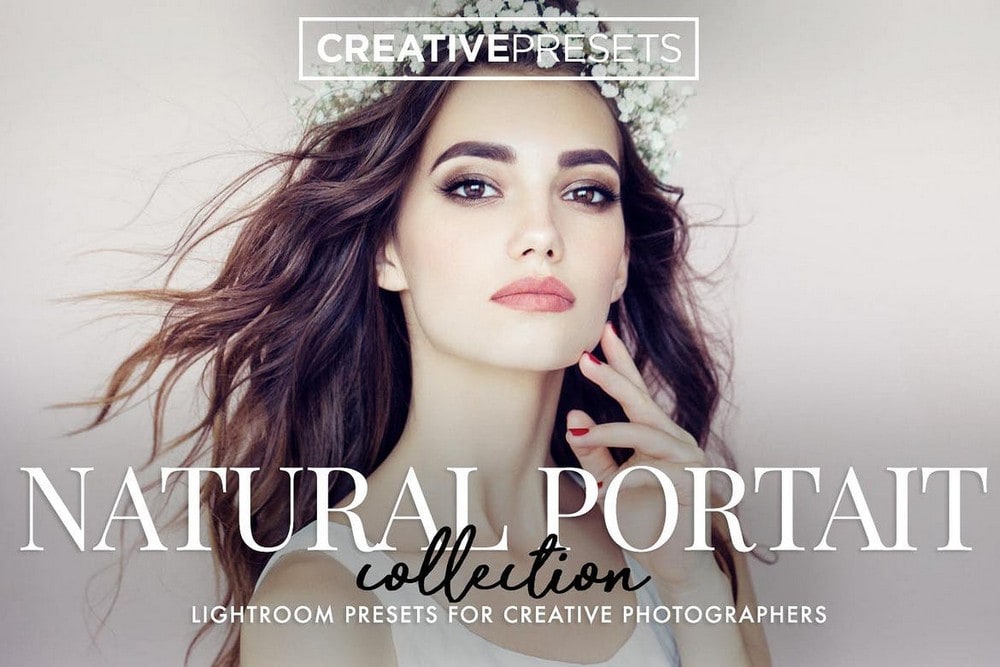
60 Natural Portrait Lightroom Presets
Stylish Portrait Pro Lightroom Presets

Vogue Mobile & Desktop Lightroom Presets

You can check out our best portrait Lightroom presets collection for more.
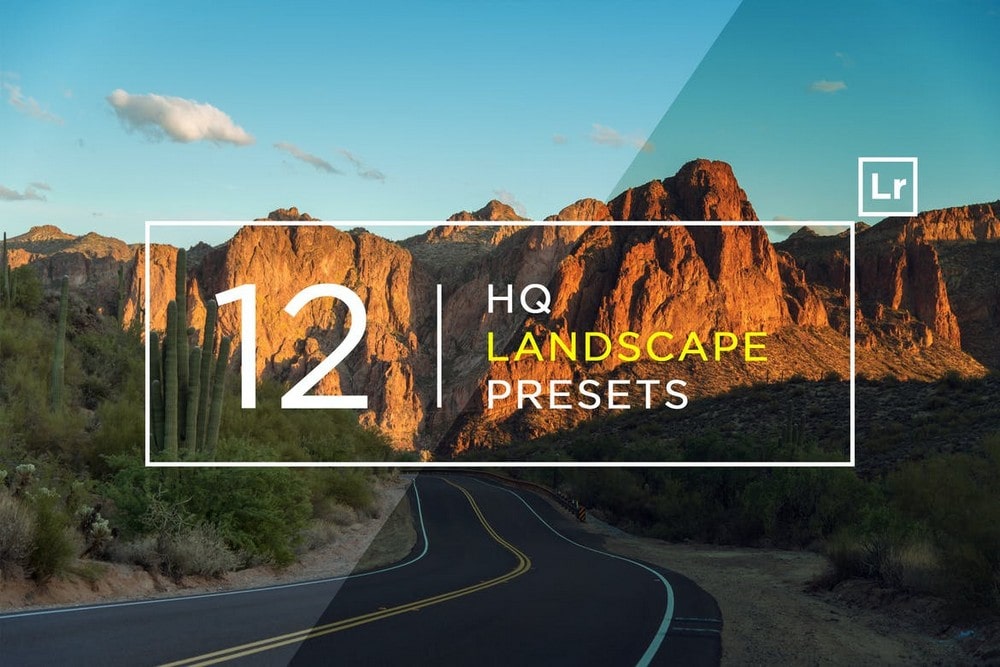
Landscape Lightroom Presets
Landscape presets are designed for improving photos taken with a wider angle. Everything from nature photography to outdoor photos falls under the landscape photo category.
These are just a few presets you can use to optimize landscape photos.
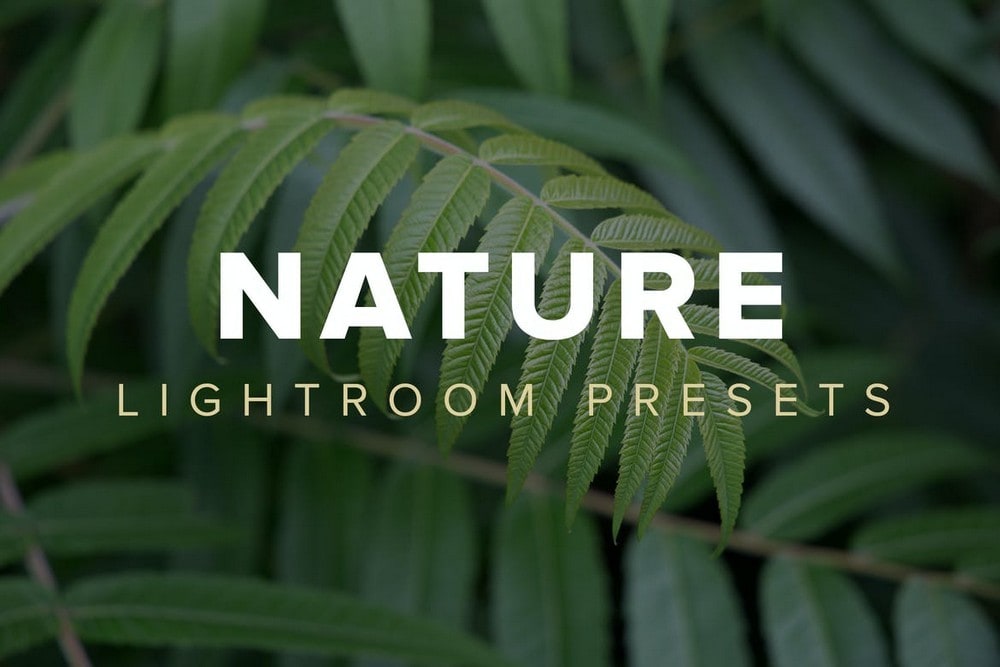
12 HQ Landscape Lightroom Presets
100 Landscape Lightroom Presets Pack

Nature Lightroom Presets
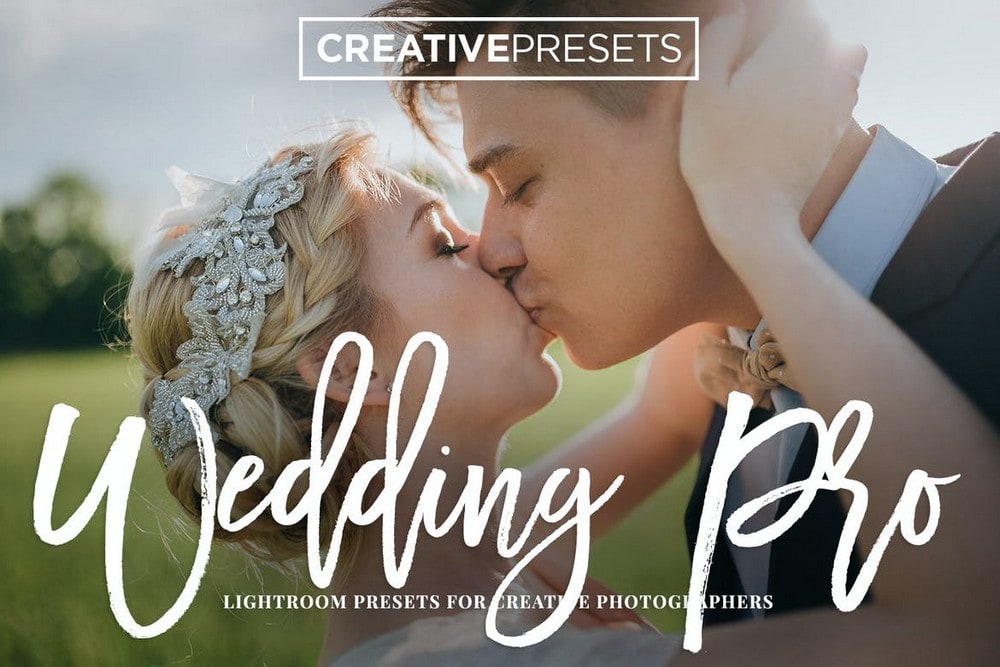
Wedding Lightroom Presets
There are many amazing Lightroom presets you can use to easily and professionally process wedding photos using Lightroom. In addition to optimizing the basic adjustments, these presets help you transform photos based on a theme like vintage, rustic, and airy.
Have a look.
Rustic Wedding Presets for Lightroom

Vintage Wedding Lightroom Presets

Wedding Pro Lightroom Presets
Check out our best Lightroom wedding presets collection to find more great presets.
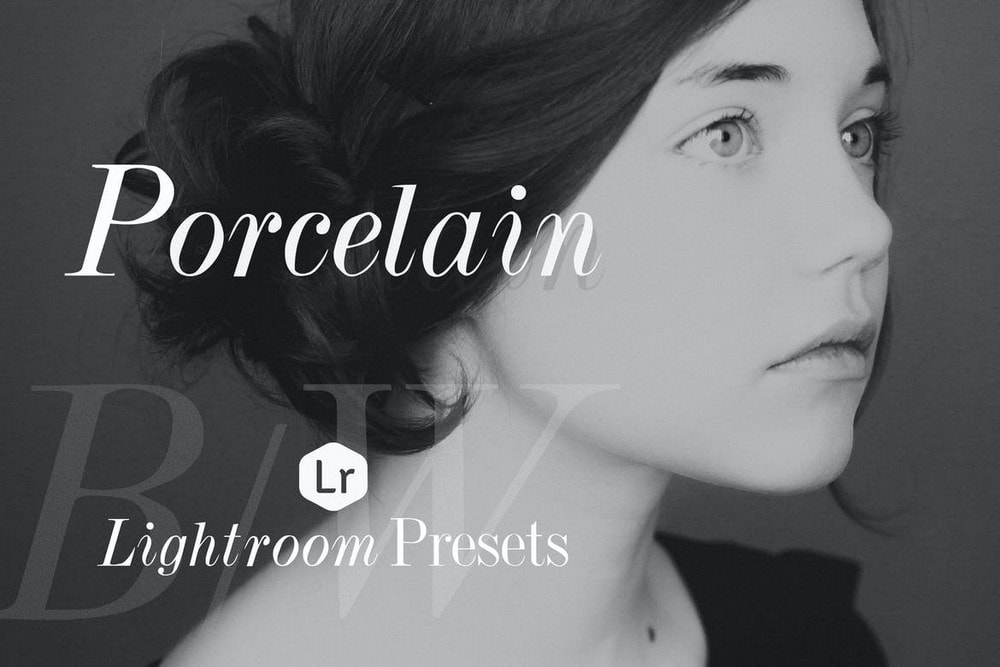
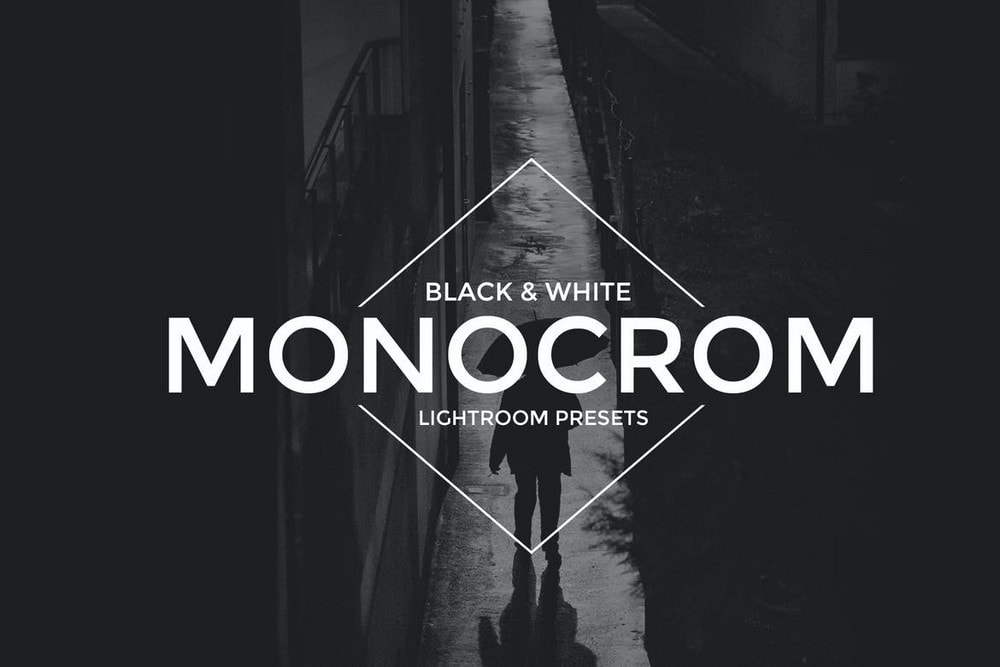
Black & White Lightroom Presets
There are many different kinds of black and white effects you can create like vintage, monochrome, and greyscale. Achieving the perfect black and white look using these effects takes a lot of work.
With Lightroom presets, you can transform your color photos to authentic black and white photos in an instant.
Blacktone Black & White Lightroom Presets

Monochromatic Lightroom Presets
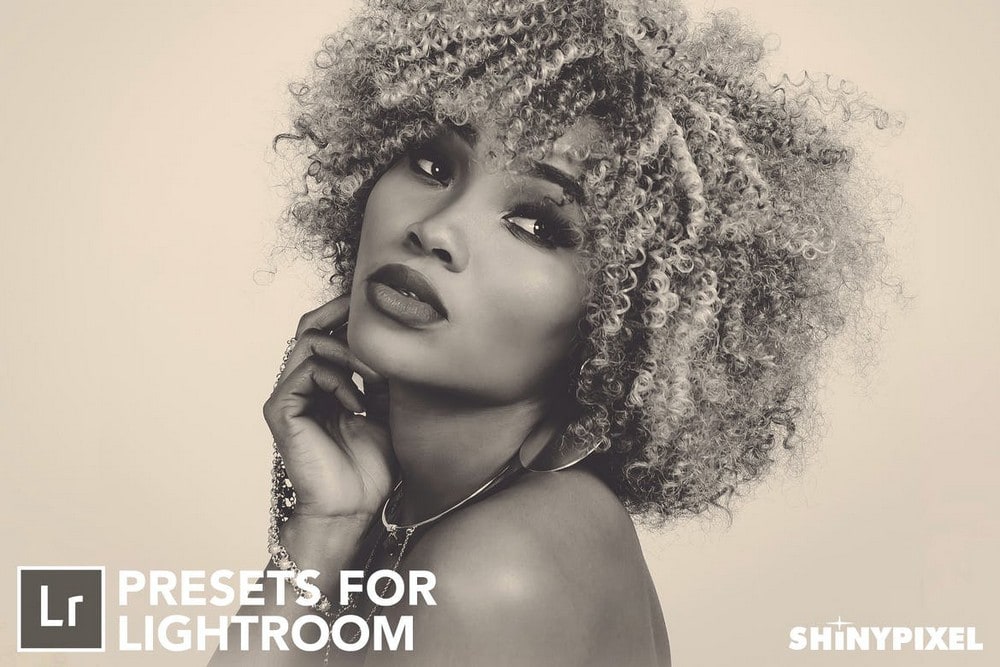
Porcelain B&W Lightroom Presets
Monocrom B&W Lightroom Presets
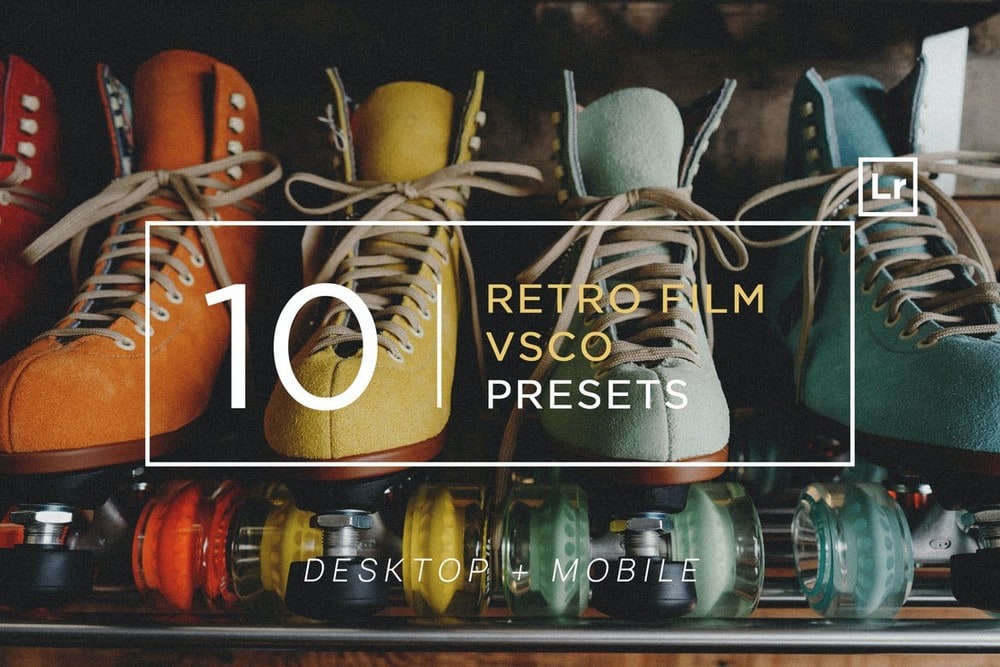
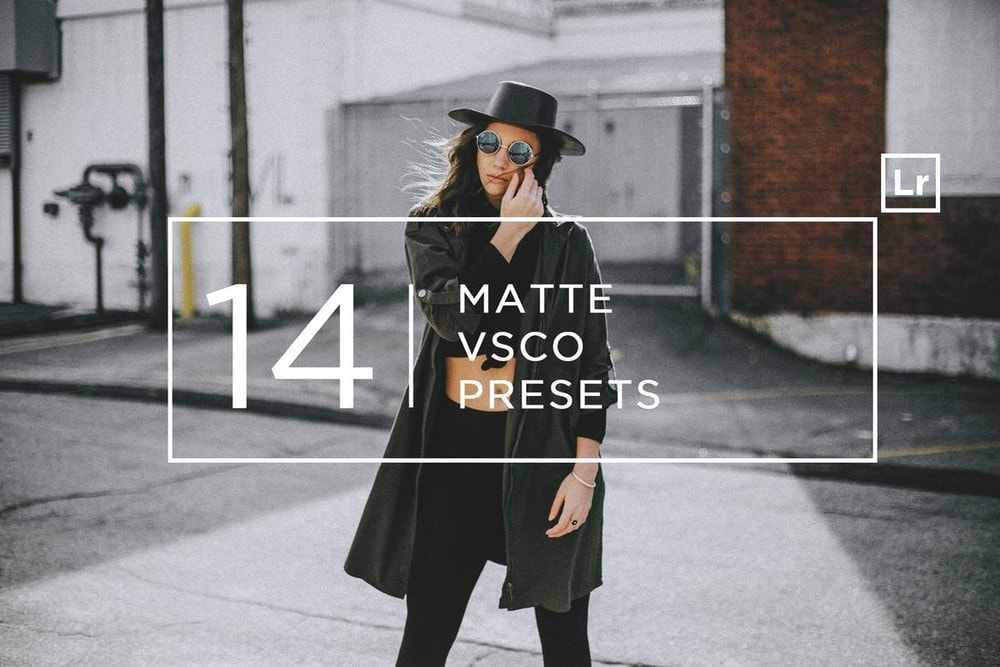
VSCO Lightroom Presets
VSCO Lightroom presets feature effects and filters inspired by the popular photography app. These presets can be used to add a professional touch to your ordinary photos and even for enhancing your social media photos.
10 Retro Film VSCO Lightroom Presets
14 Matte VSCO Lightroom Presets
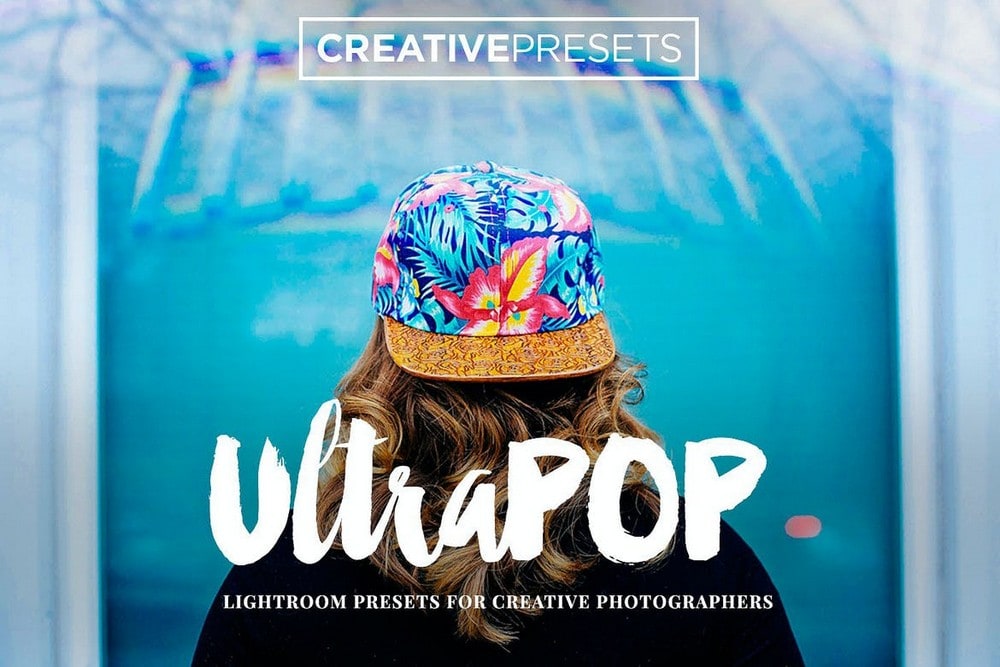
UltraPOP Lightroom Presets
50 Nostalgic Films Lightroom Presets

Our handpicked collection of the VSCO Lightroom presets collection will offer more presets for you to download.
Real Estate Lightroom Presets
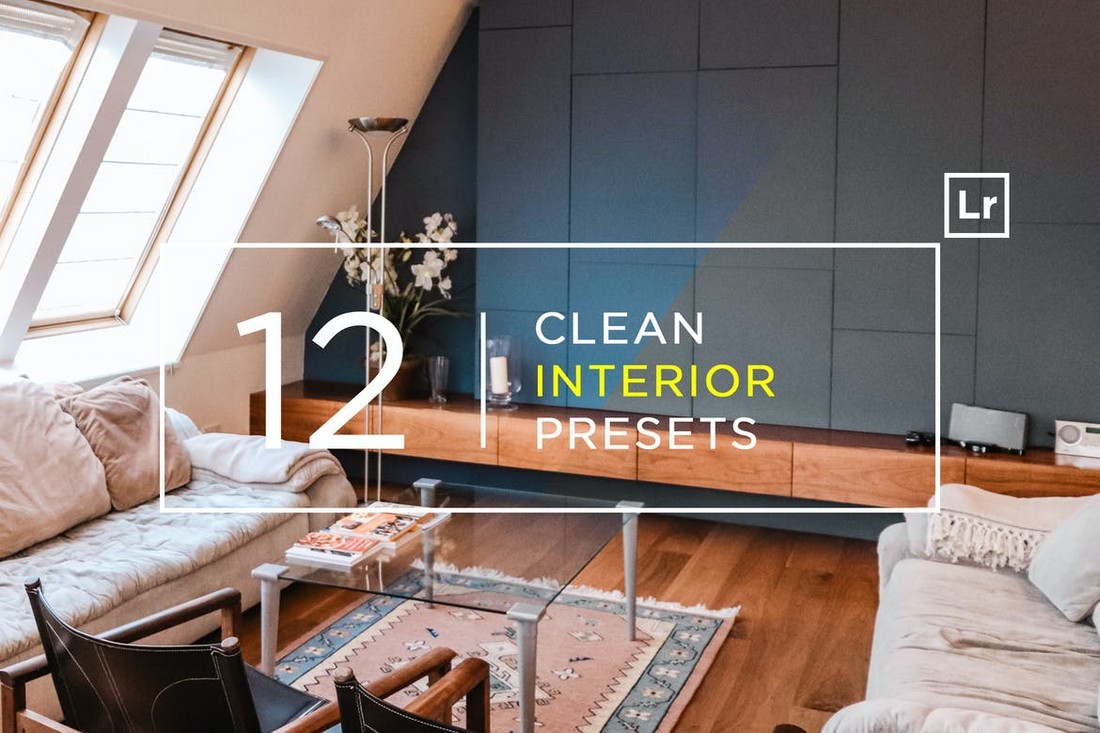
These Lightroom presets are designed to help you improve your photos related to real-estate. Like effects for enhancing photos of interiors, property, apartments, and more.
Real Estate Mobile & Desktop Lightroom Presets

12 Clean Interior Lightroom Presets
Architecture & Interior Lightroom Presets

40 Bright Interior Lightroom Preset

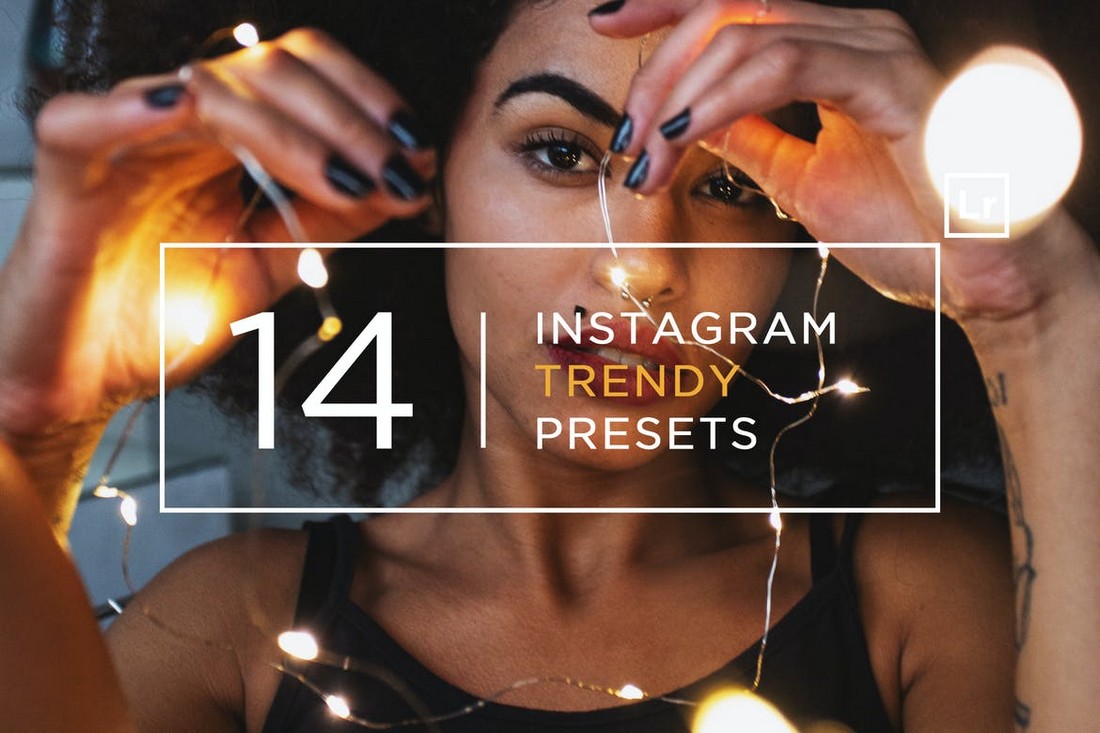
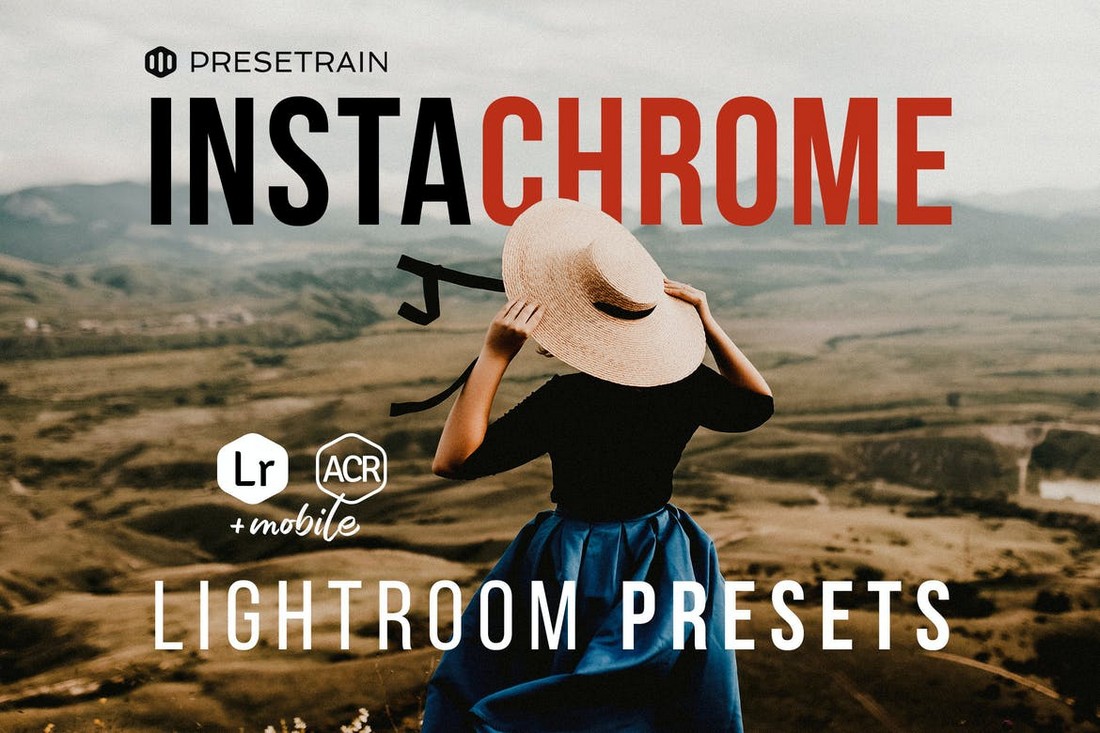
Instagram Lightroom Presets
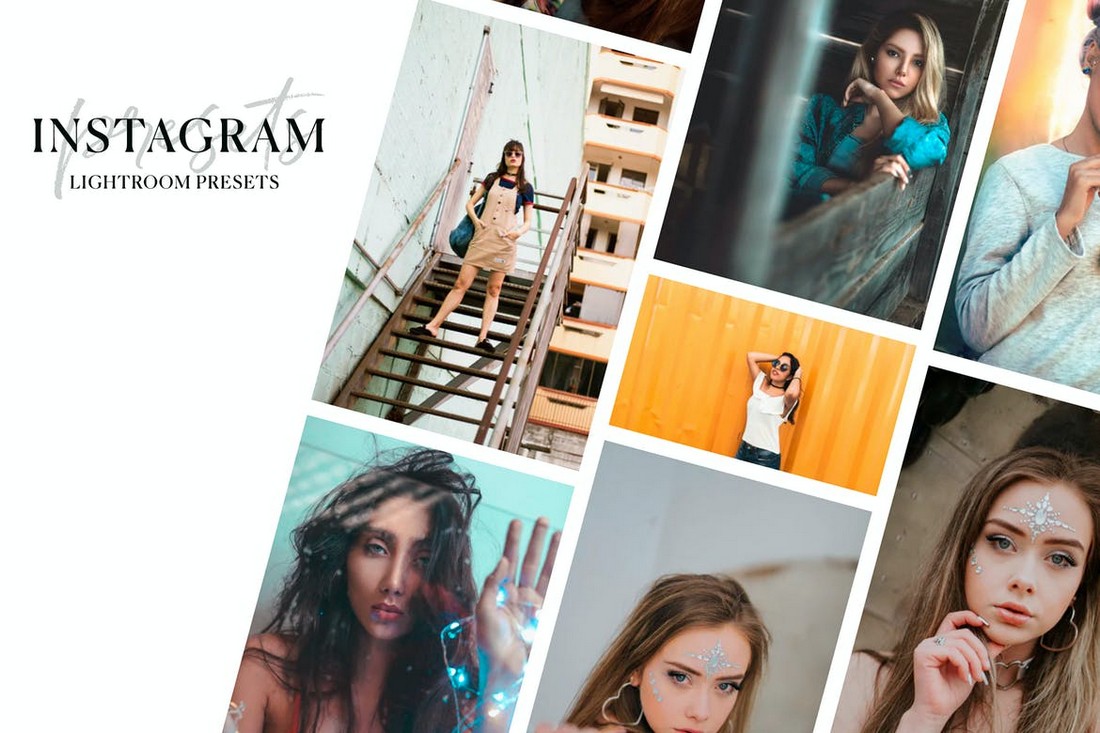
Instagram filters are great for adding a unique look to selfies. But the problem is those filters make your photos look just the same as millions of others. With Instagram Lightroom presets, you’ll be able to apply unique effects to your photos to make them stand out from the crowd.
Instagram Presets for Lightroom
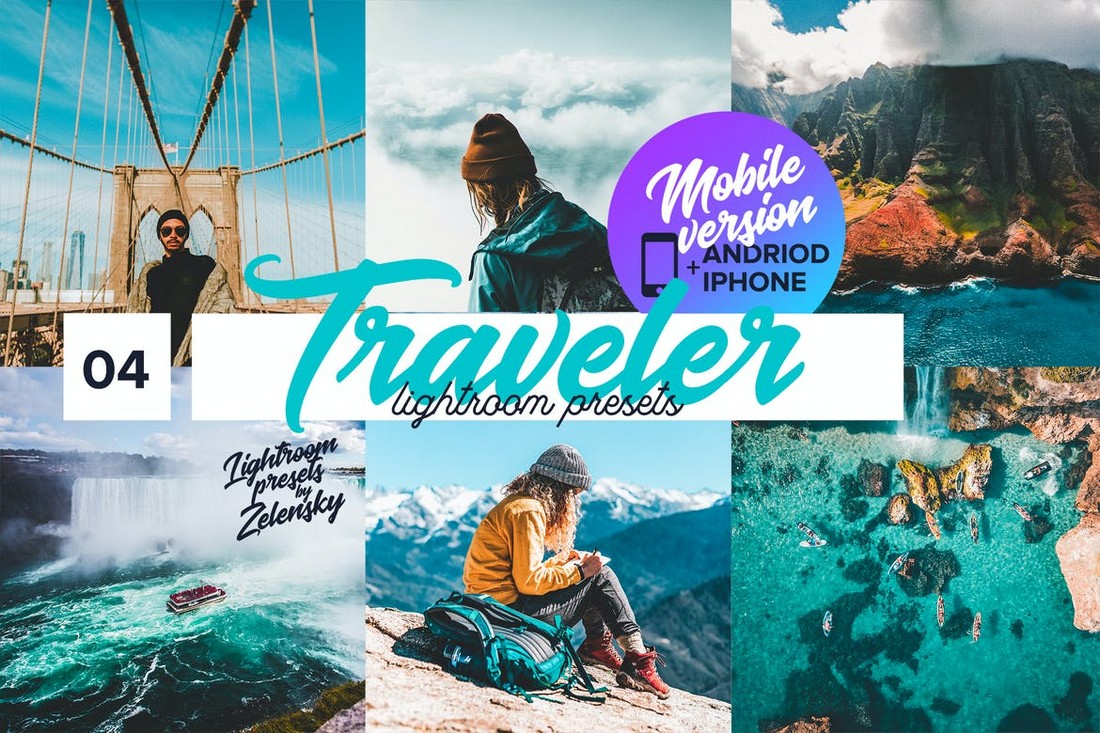
Traveler mobile Lightroom Presets
14 Instagram Trendy Lightroom Presets
Instachrome Lightroom & ACR Presets
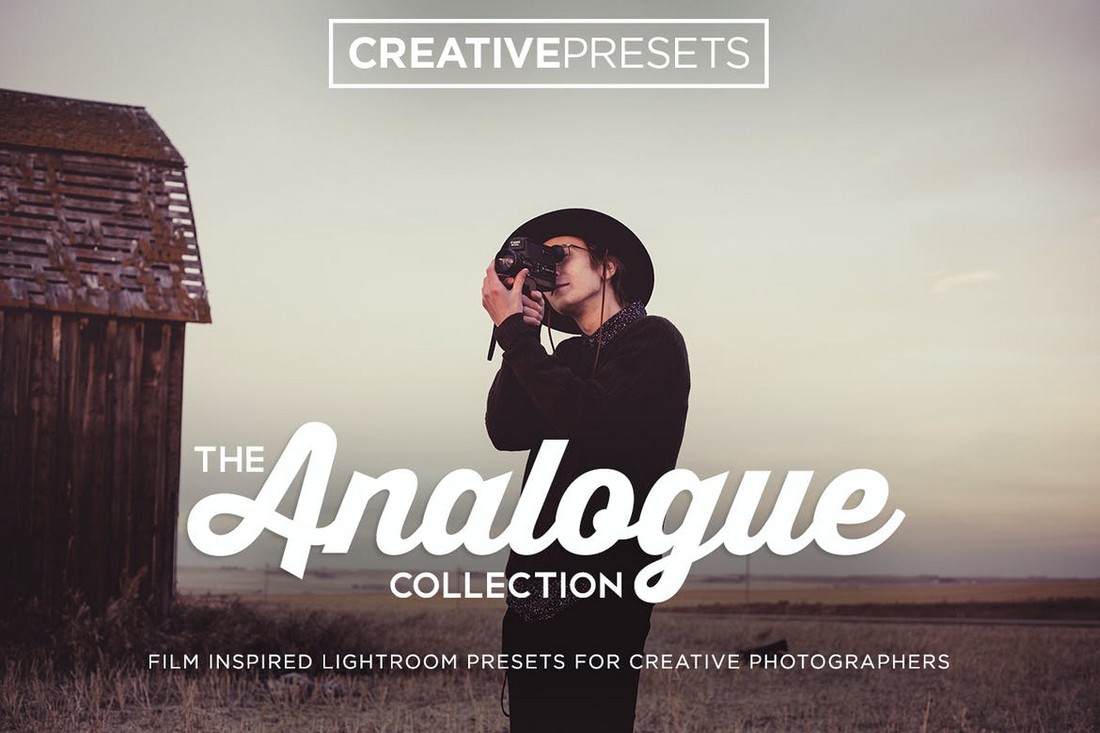
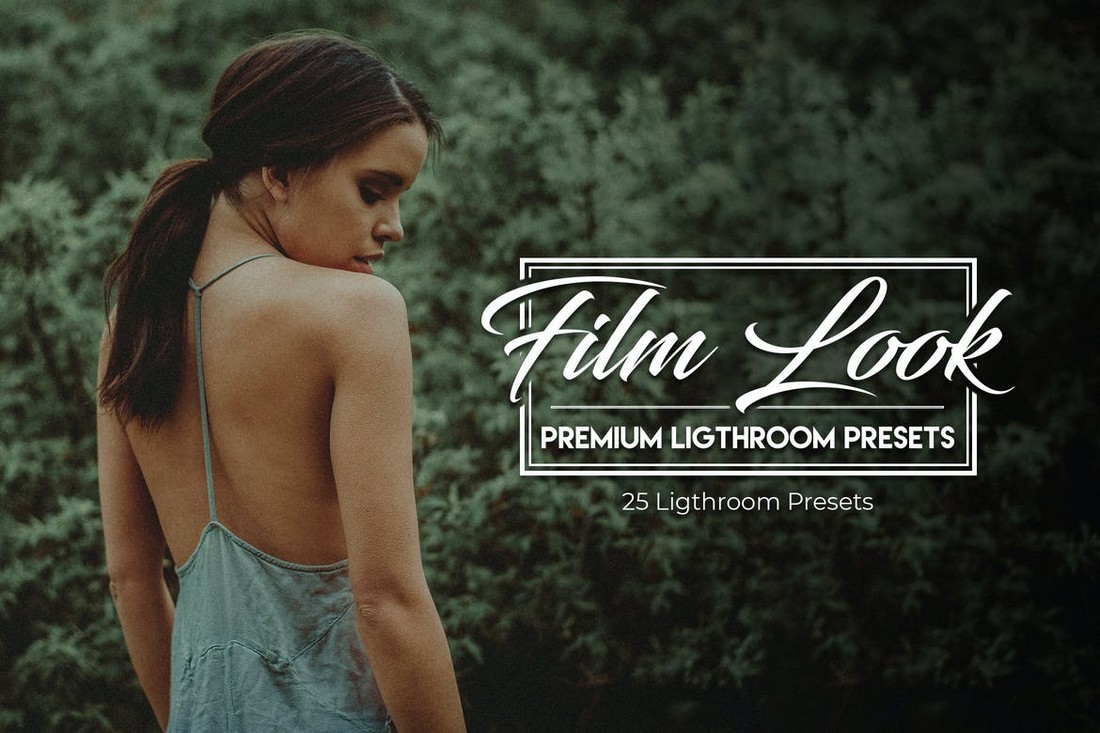
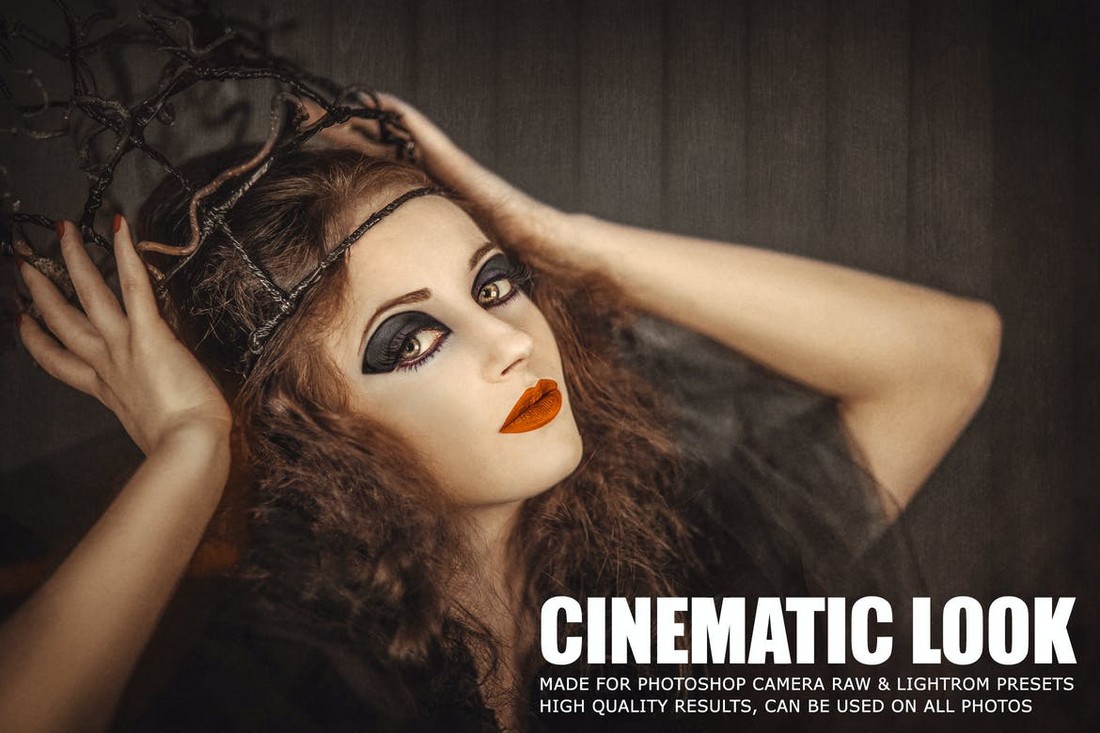
Film Lightroom Presets
There are two different styles of film effects used in photography. One focuses on making modern digital photos look like photos taken from old-school film cameras. The other is for giving your photos a film-like look. To make photos look like a scene from a movie.
These presets will allow you to apply both those effects in Lightroom with just one-click.
Film Effect Mobile & Desktop Lightroom Presets

Analogue Film Lightroom Presets
Film Look – 25 Premium Lightroom Presets
10 Film Look Cinematic Lightroom Presets
You’ll find more film-themed presets in our best Lightroom film presets collection.
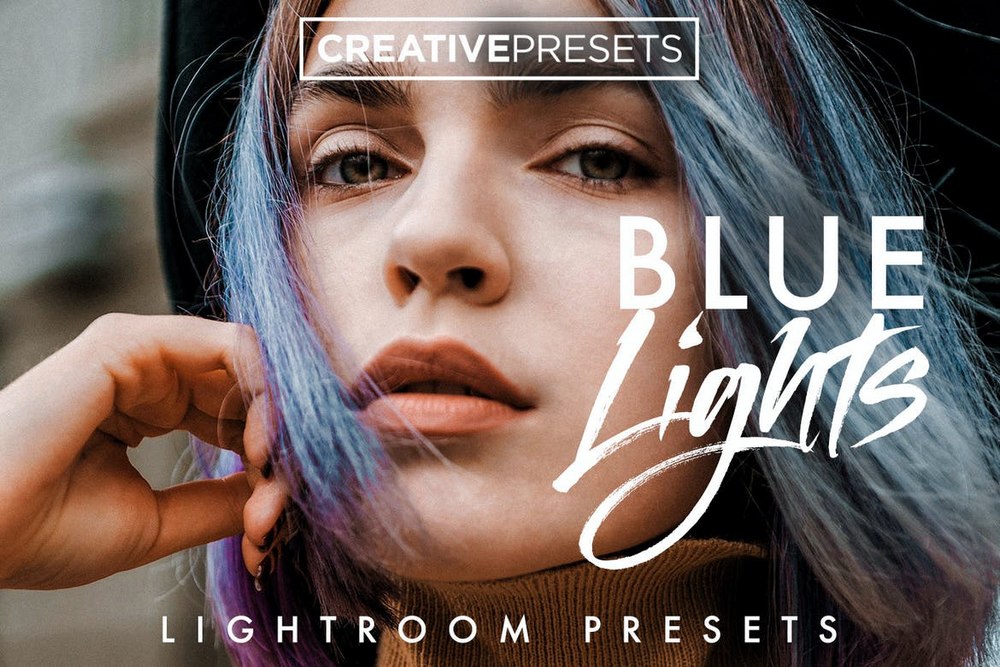
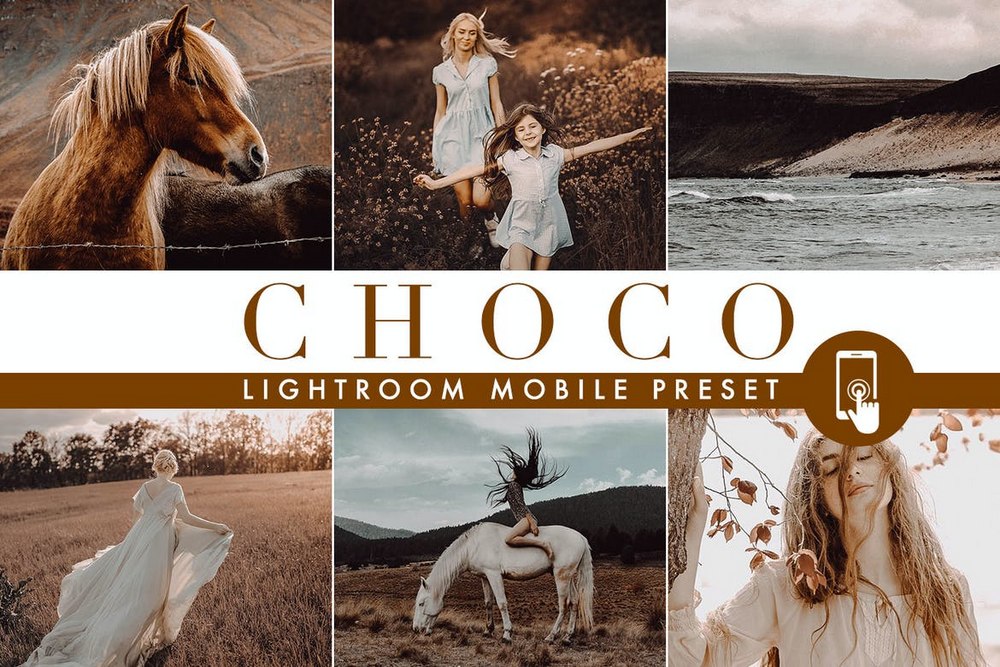
Lightroom Mobile Presets
Presets for Lightroom mobile apps works differently than the desktop app. You can sync your desktop presets with the mobile app using the Creative Cloud. Users without Creative Cloud needs to use DNG files to create presets. Refer to our installing Lightroom mobile presets section above to see how it works.
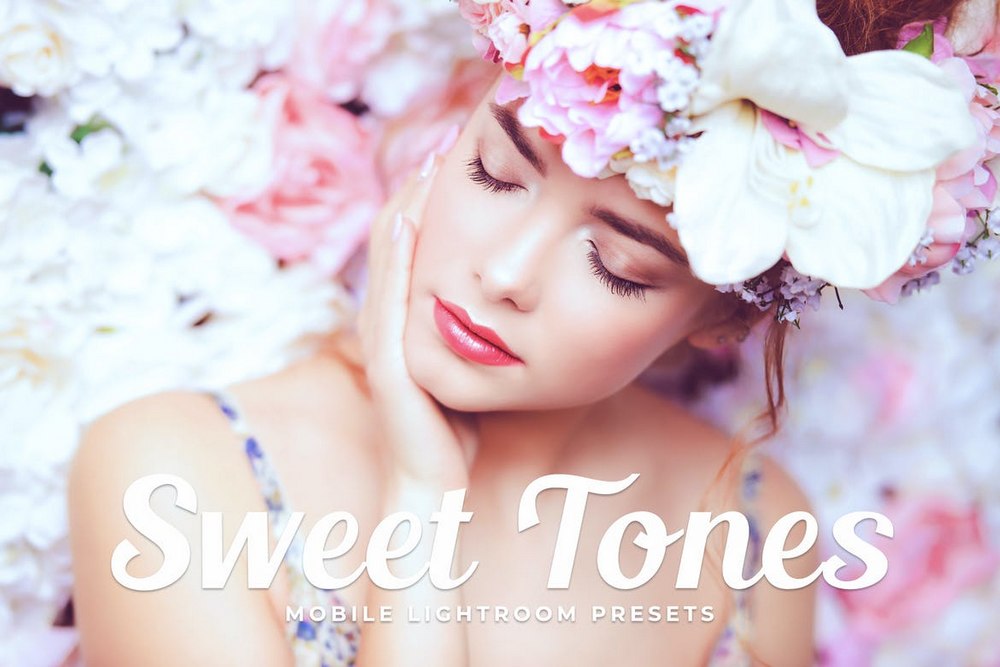
These are some great mobile presets you can easily install in Lightroom mobile.
Cool Blue Lightroom Mobile Presets
Moody Lightroom Mobile Preset DNG
Sweet Tones Mobile Lightroom Presets
Bleached Lightroom Mobile Presets
Blue Shadow Lightroom Mobile Presets
Instachrome Lightroom Mobile Presets

How to Use Lightroom: Tips & Tricks
Lightroom is not a difficult software to learn. It has a very simple user interface that makes sure you can learn the ins and outs without a hassle. However, there are some useful features hidden away from the main UI.
These are just a few of those useful tips you must know about.
How to Export RAW Files from Lightroom
If you use RAW image files in Lightroom you should also know how to export your images in RAW format.
Imagine editing a RAW image and being able to save the edited photo in the RAW format while preserving its quality. It will allow you to do multiple edits without losing the quality of the image.
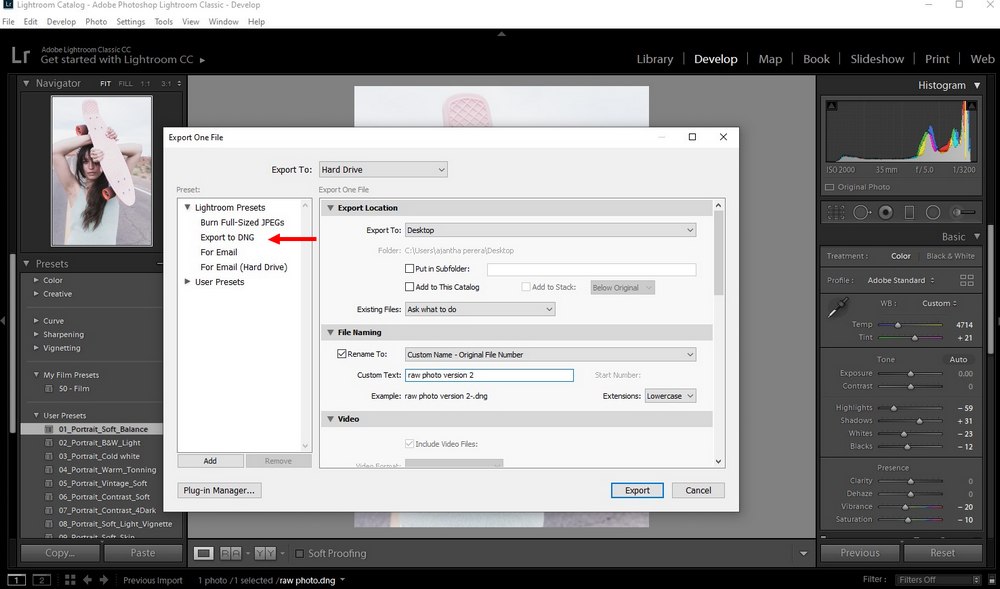
To export photos to RAW image, all you have to do is go to the File menu and select Export. Then switch to Export to DNG tab. Choose the location where you want to save the new file. Give your new photo a custom name. And click Export. That’s it!
While different cameras use different file extensions for RAW images, DNG is the official file extension used by Adobe software for RAW files.
How to See Before and After in Lightroom
Not being able to see a before and after preview in Lightroom is a common issue most users face. This is especially the case when applying Lightroom presets. Thankfully, there’s a simple fix for this.
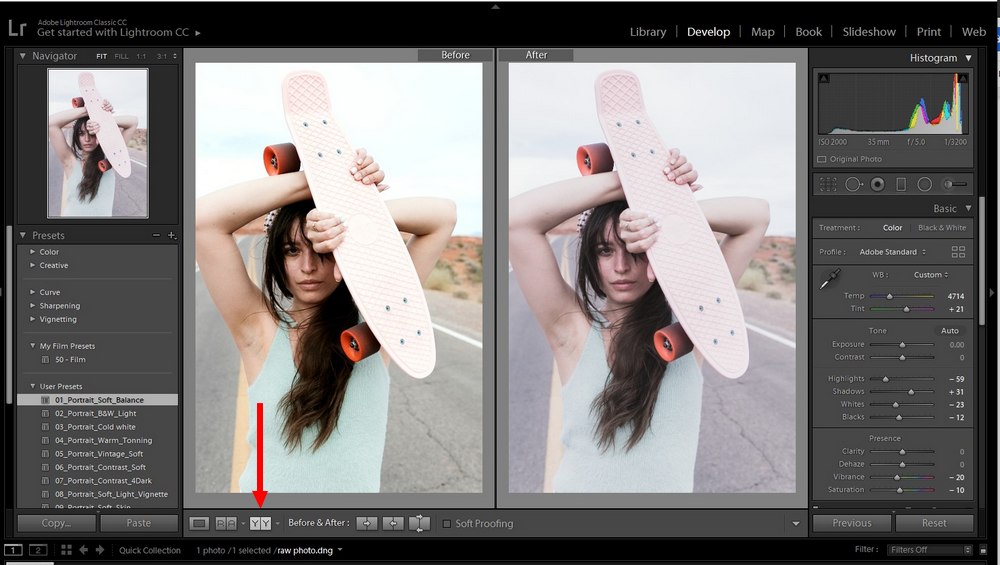
To see the before and after images side by side, all you have to do is click on the “YY” button that cycles between the before and after views.
This will give you a clear view of the two images to compare the changes better. While in this mode, you can still apply presets and changes to the After image as well.
How to Add Watermark in Lightroom
Protecting your work is important, especially when you’re uploading photos to online platforms. You should always add a watermark to your images to protect them from misuse.
Lightroom has an easy tool for adding watermarks.
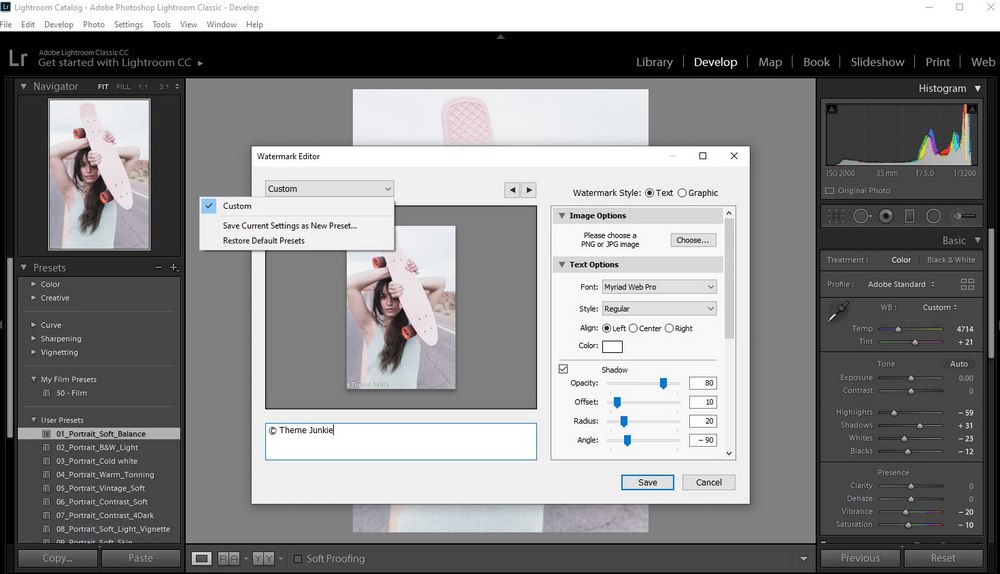
Go to the Edit menu and then select Edit Watermarks. From there, you can type in a text watermark or use a graphic as a watermark. Then you can also save it as a preset to use with other images in the future.
How to Undo in Lightroom
We all make mistakes, especially when editing photos. So it’s important to learn how to revert your changes instantly.
The quickest way to undo a change in Lightroom is to hit Control + Z on your keyboard. This will allow you to undo changes one step at a time.
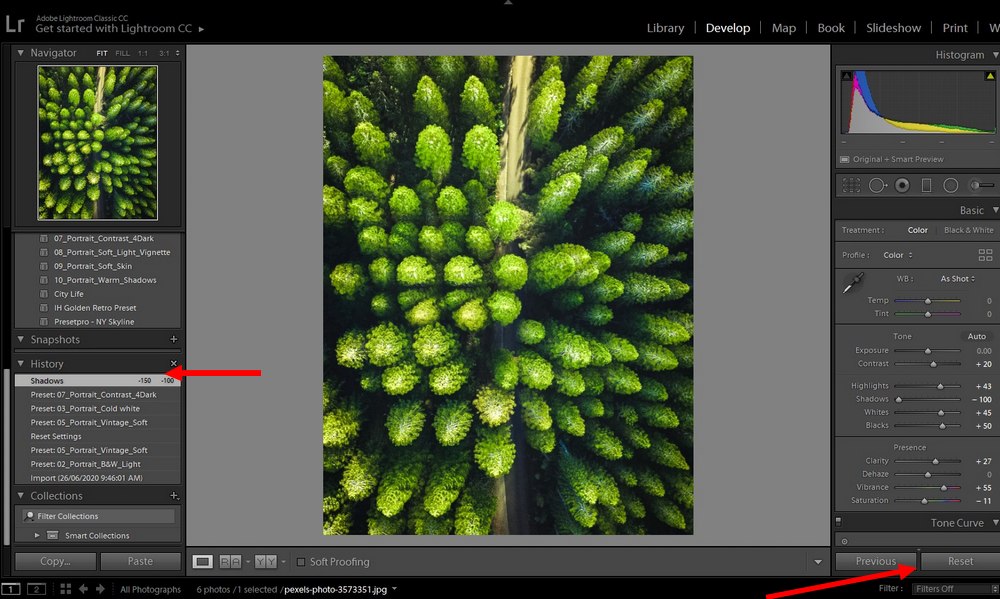
Or, if you want to remove all the changes you’ve made to a photo and get to the original image, simply click on the Reset button.
In addition, you can use the History panel to browse all the changes you’ve made to a photo and undo changes manually.
How to Save Your Work in Lightroom
A great thing about using Lightroom for photo editing is that it automatically saves your work. So there’s really no need to save your work before exiting the app.
But, what if you wanted to preserve the changes you’ve made. Or hand over the files to another editor with your changes intact? Lightroom catalogs make this possible.
You can easily save your work by creating a Lightroom Catalog. Go to File >> Export as Catalog. Then, from the save dialog box, choose whether you want to save all the photos in your library or just save the selected photo. And click Save.
This will save an entire folder with all the files related to your photos. You can load a catalog to Lightroom via File >> Open Catalog.
How to Move Lightroom Catalogs
In order to move a catalog, you need to export it. Basically, it works the same way as we’ve described in the previous section.
Simply go to the File menu and select Export as Catalog. And you can then move the exported catalog folder anywhere you want.
How to Make a Collage in Lightroom
Lightroom also offers a pretty nifty way for you to create photo collages.
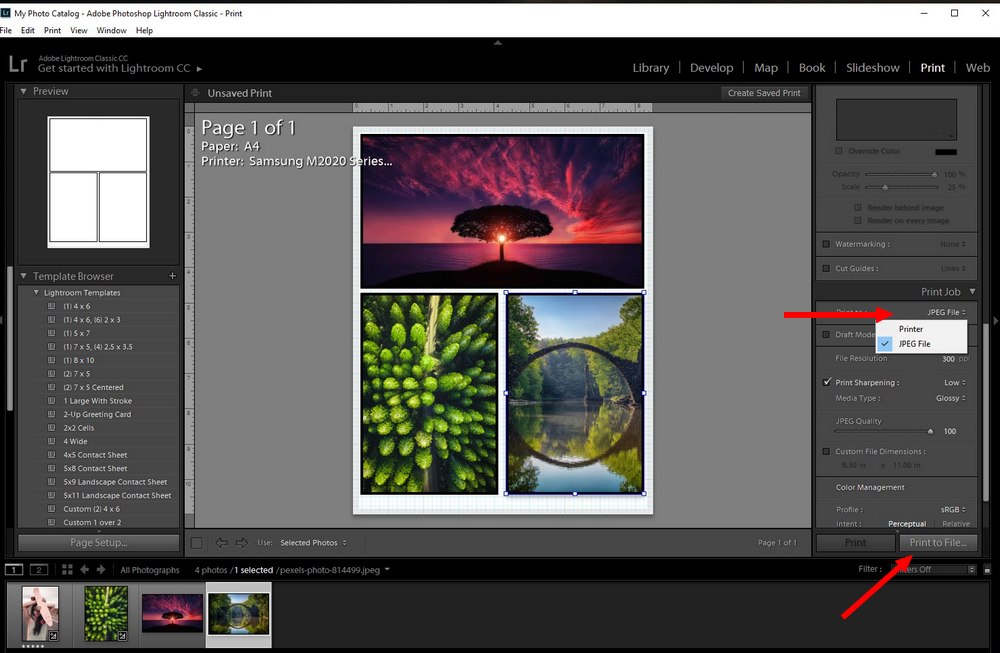
To create a photo collage, head over to the Print module in Lightroom. And use the Template Browser to find a template for the collage. Then easily drag and drop images from the explorer onto the collage boxes.
After creating the collage, go to the Print Job panel and select JPG File as the Print To option. Then click on the Print To File button to save your photo collage as a JPG.
How to Blur Background in Lightroom
Blurring the background of an image allows you to create an HDR-like effect for your photos. The easiest way to create this effect is to use the Radial Filter tool.
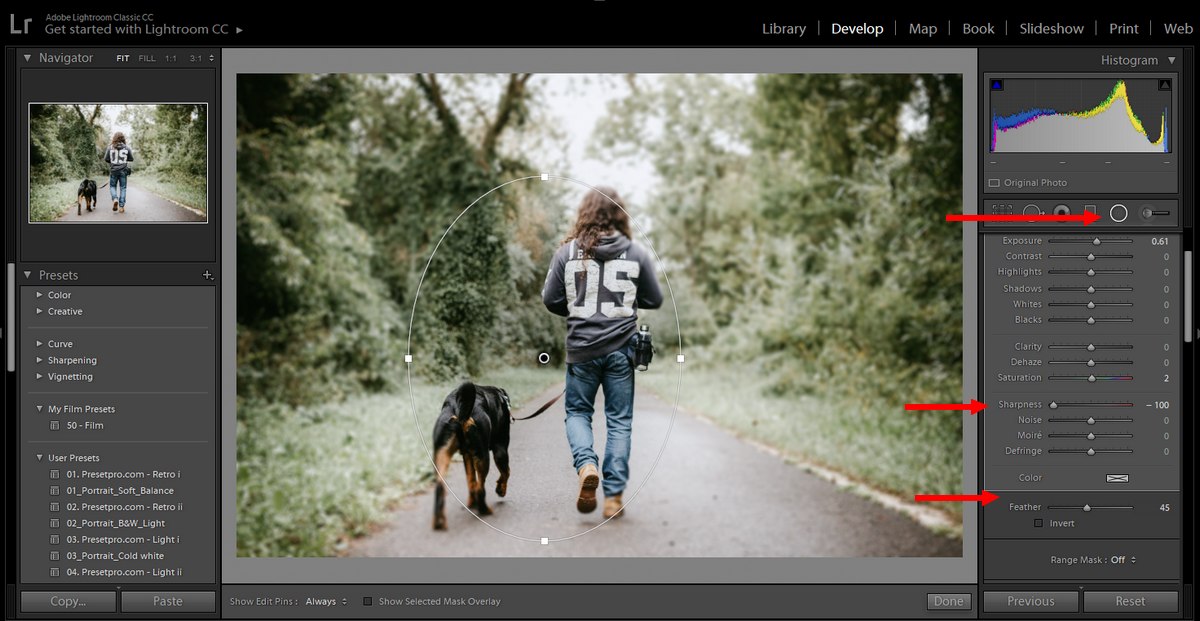
Simply create a mask using the Radial Filter tool around the area of the image you want to surround with the blur. Then adjust the Sharpness of the image to add a blur around the mask. Also, use the Feather adjustment to add a fade to the blur.
Play around with the adjustments to find the optimal blur effect.
How to Batch Edit in Lightroom
Batch editing photos in Lightroom allows you to apply the same effect to multiple photos with just a few clicks. This is a great way to optimize photos that you take during photoshoots.
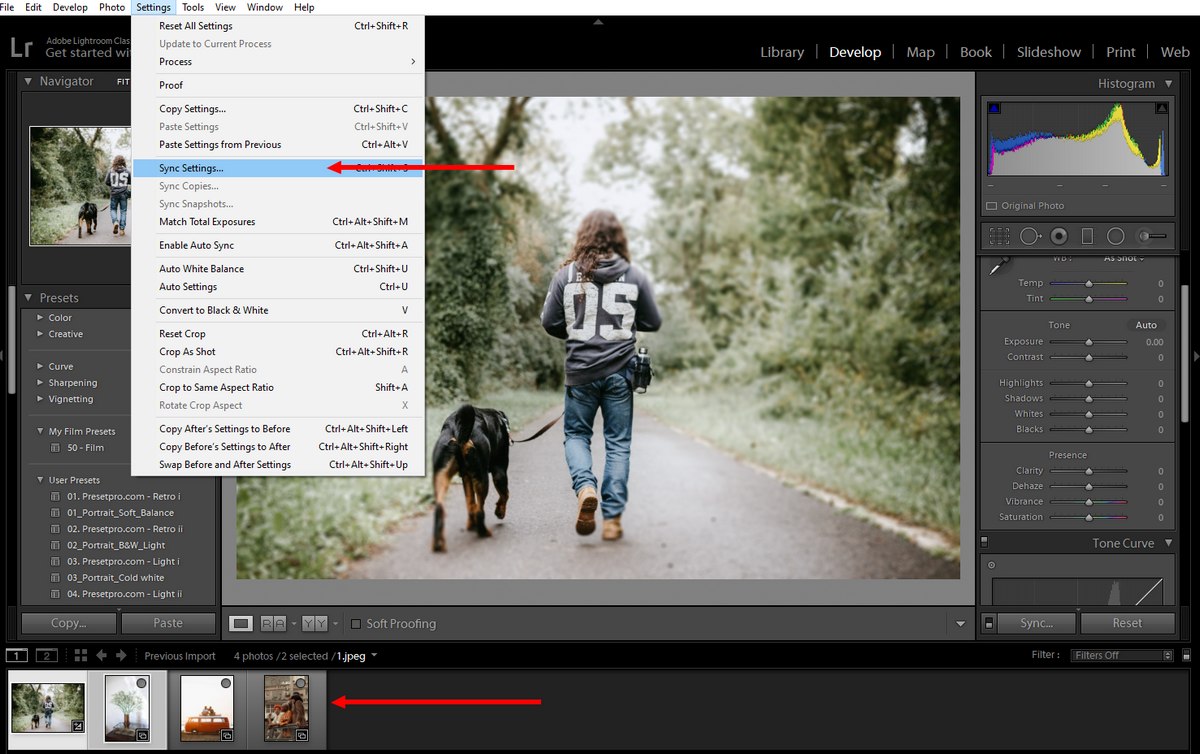
Once you’ve finished editing the first photo, Control/Command + Click all the other images you want to apply the effect to. Then go to the Settings menu and select Sync Settings.
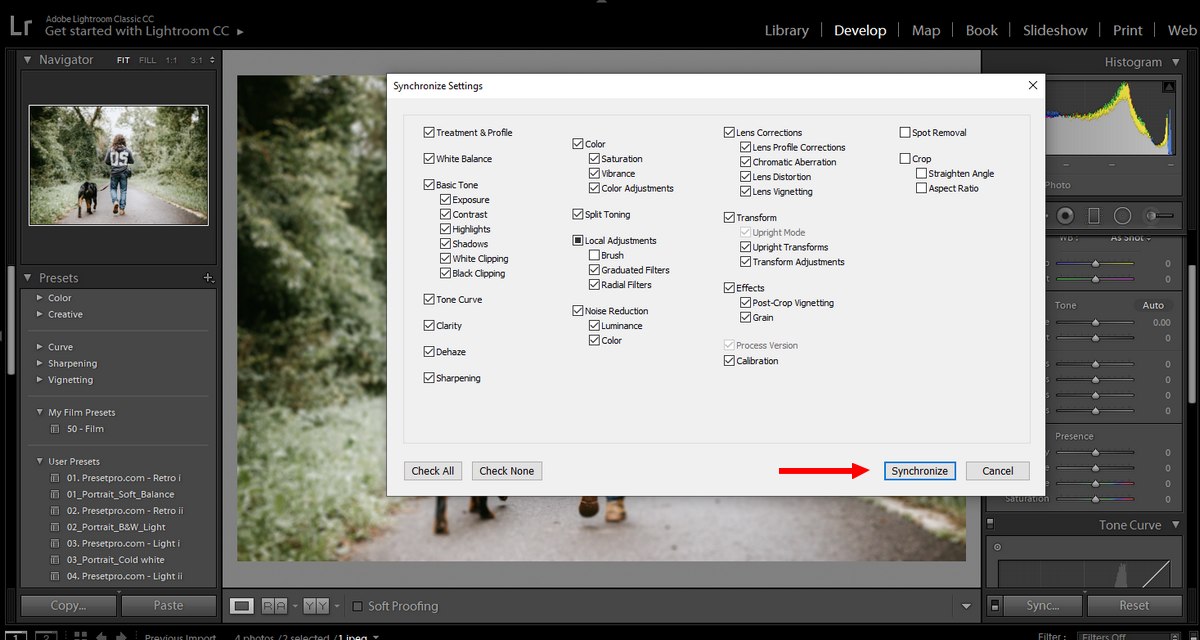
Select all the adjustments you want to apply to the other images. And click Synchronize to batch edit the photos.
How to Rotate a Photo in Lightroom
Lightroom has a great tool you can use to rotate images to give unique views to your photos while making them look like they were shot from different angles. Here’s how it works.
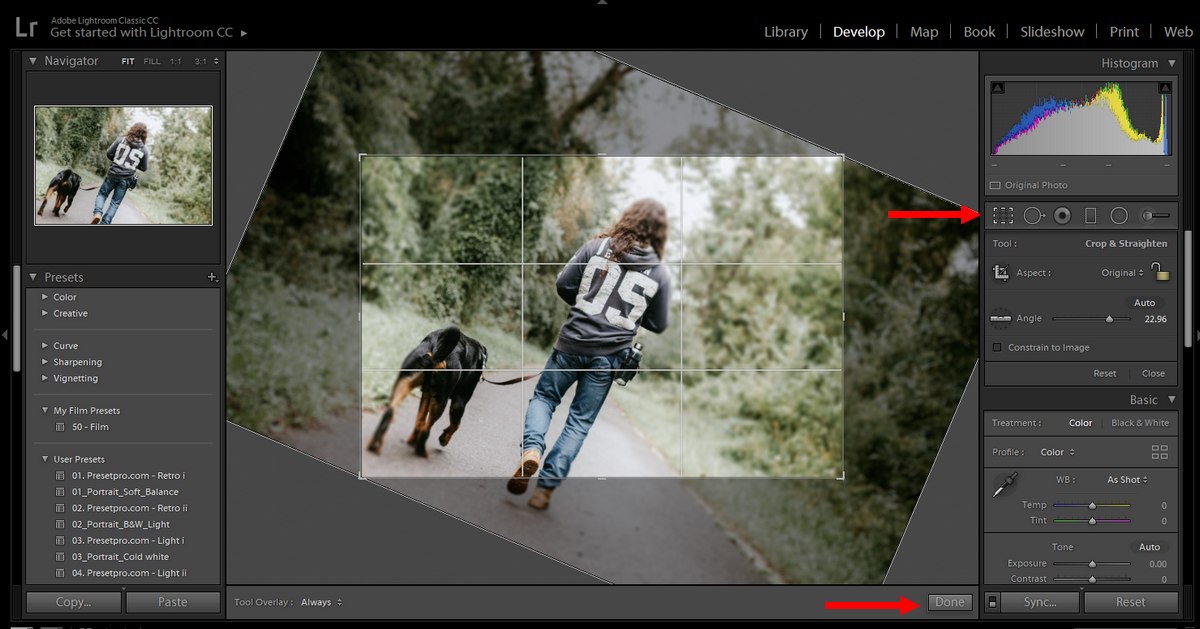
Use the Crop Overlay tool to create a grid and then move your mouse cursor outside the image area. Then adjust the image angle to rotate the image. Once you’re done, click the Done button or press Enter to crop and rotate the image.