What are LUTs in Premiere Pro? (+ How to Add or Install Them)
LUTs are a powerful tool in Premiere Pro that you can use to transform footage taken with a cheap camera into Hollywood film-grade quality.
Every video editor should learn to use LUTs as it’s an important part of the video post-production process. Even if you’re editing videos for YouTube, LUTs can help make your content look more professional.
In this guide, we’ll explain everything you need to know about LUTs and how to use them in Premiere Pro. We also handpicked a few LUTs for you to download. Let’s dive in.
What Are LUTs?
LUTs (LookUp Tables) are a commonly used element in the video color grading process. In a way, LUTs are like filters with a predetermined set of color values that you can apply to your videos.
LUTs allow you to create a consistent look across the video footage. For example, you can apply a LUT to a wedding video to make the video look consistent even when it includes footage shot in different environments and lighting conditions.
1D LUTs vs 3D LUTs
There are LUTs that address different aspects of the video post-production process, mainly when color grading and optimizing films. As a beginner, you only need to know about the two main types of LUTs— 1D and 3D LUTs.
LUTs manipulate color values to create different looks in videos. 1D LUTs are only capable of changing just one color value. While 3D LUTs are capable of changing 3 values, including brightness, hue, and saturation.
In short, you should look to use 3D LUTs as they give you more control over the color settings and creating the look you want. You can read this guide to learn more about 1D and 3D LUTs.
Why Use LUTs in Premiere Pro?
Have you ever wondered how Hollywood films create consistent and magical looks in films? For example, Mad Max: Fury Road takes you to a post-apocalyptic world with bright colors, unlike anything we’ve seen in the real world. This look was created in the color grading process.
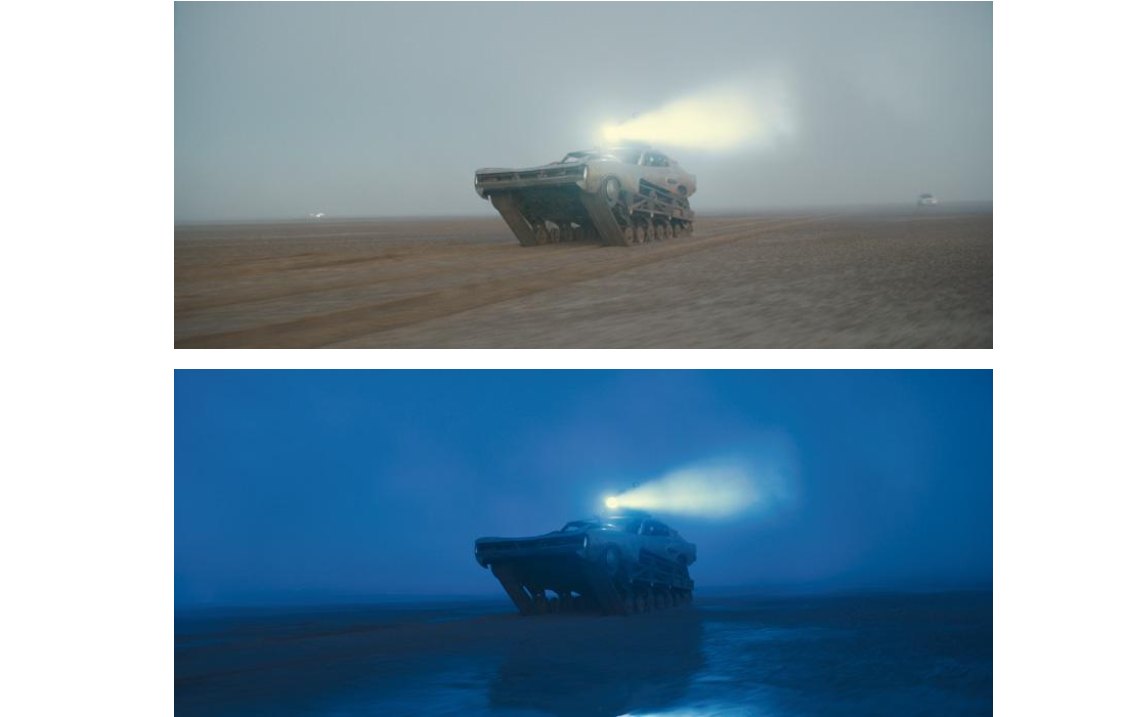
According to Eric Whipp, who was in charge of the color grading for the film, he was given very simple instructions by George Miller, “it should be saturated and graphic, and the night scenes should be blue”.
With LUTs you can create that type of Hollywood film looks for your videos using nothing but Premiere Pro.
- Create Cinematic Looks: LUTs are the go-to choice for creating cinematic looks. You can easily create a Blade Runner-style futuristic look for your footage with a mix of color correction and LUTs
- Apply Effects: You can also apply different filters and effects like vintage or retro look to your videos using LUTs
- Process Log Footage: LUTs are also used in processing and converting Log footage into REC709
- Consistency: Making footage with different shots look consistent across the video is the main benefit of using LUTs
How to Find LUTs & Templates
Knowing how and where to find high-quality LUTs and video templates to use in your projects is another important part of the process. Because there are so many marketplaces out there but not all of them have quality templates.
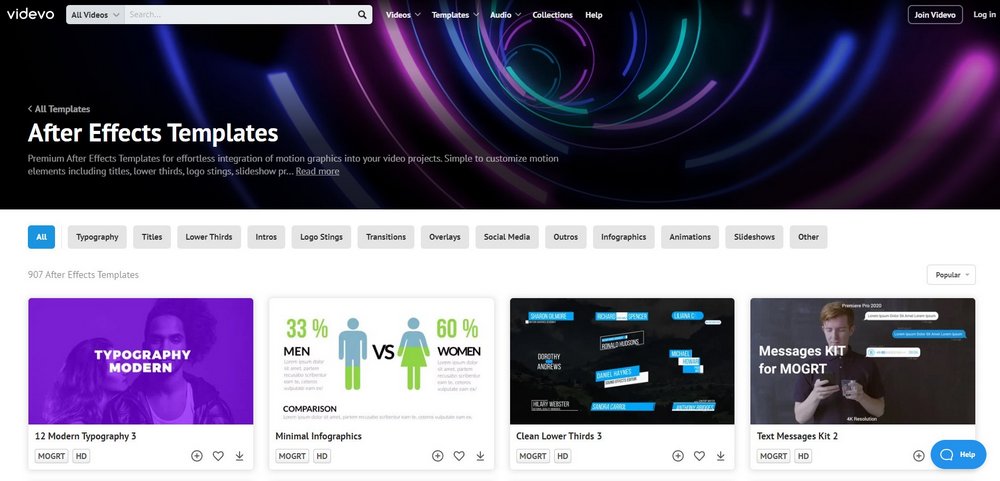
Videvo is a great marketplace you can always turn to find the best templates for your videos. There are many different types of templates in this platform for Premiere Pro, After Effects Templates, Final Cut Pro, and DaVinci Resolve.
If you want to find a great-looking title template, lower thirds, transitions, logo intro, or even templates for social media, Videvo has plenty of options to choose from. And you can download them all for a single subscription.
10 Best LUTs for Premiere Pro
You can use LUTs in not just Premiere Pro but with many other video and graphics editing software, including DaVinci Resolve, Photoshop, Affinity Photo, and much more.
This makes it very easy to find LUTs everywhere on the Internet. We handpicked a few of the best LUTs for you. Have a look.
Ultra Color – 100 LUTs for Premiere Pro
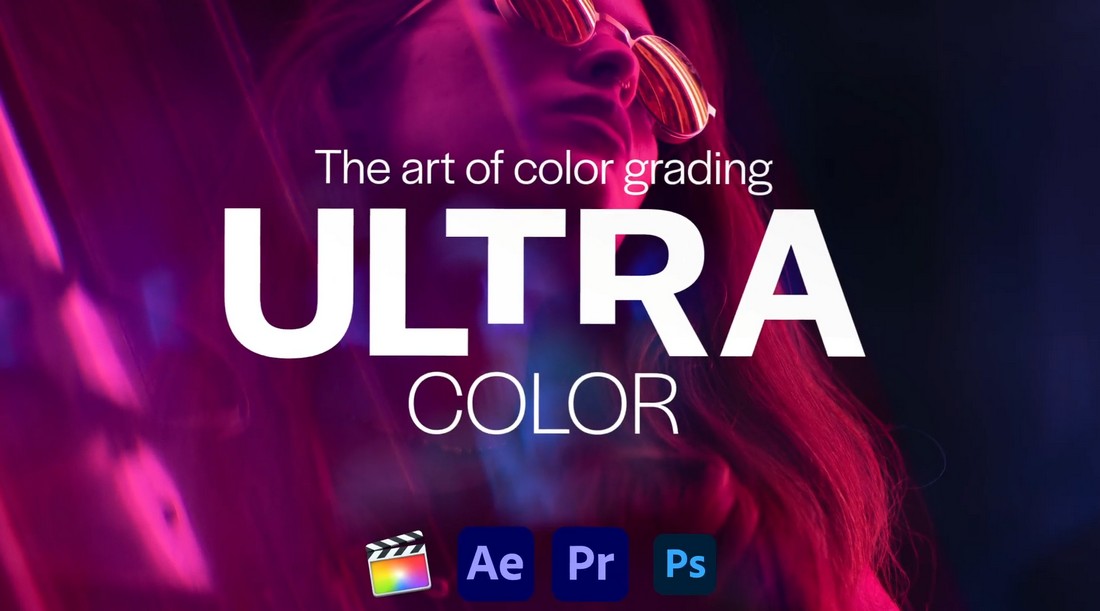
This bundle includes 100 different LUTs for you to use in your professional projects. They are divided into 10 categories featuring LUTs with cinematic, urban, wedding, and other effects.
Film Looks – LUTs Pack for Premiere Pro
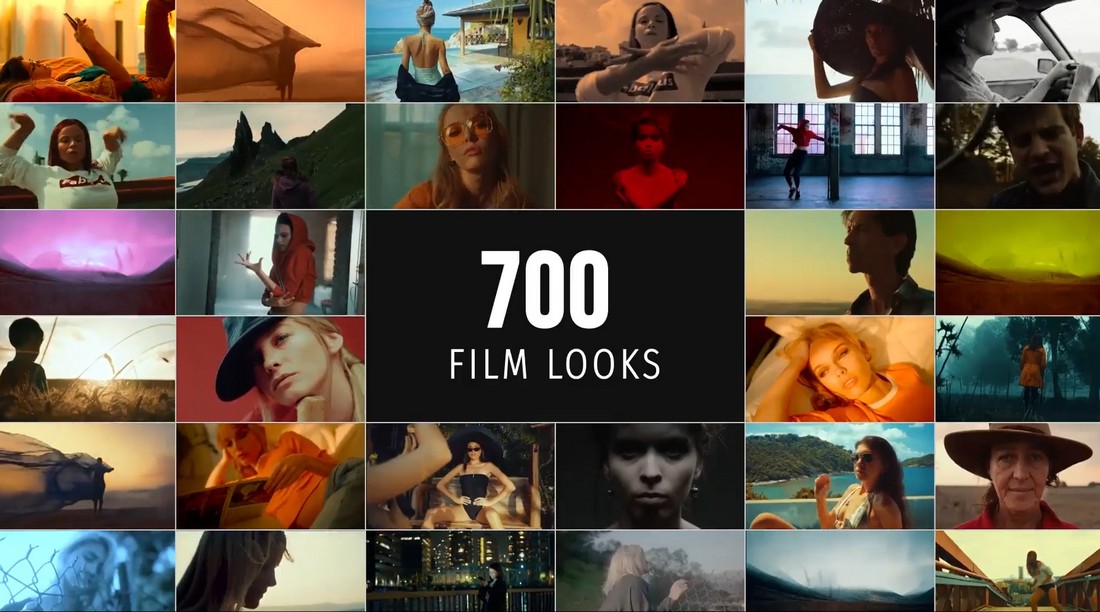
Film Looks is another big pack of LUTs you can use in both Premiere Pro and After Effects. This pack comes with 700 different LUTs with various effects for making your post-production process much simpler.
1000 Cinematic Color Presets for Premiere Pro
This is one of the biggest bundles of LUTs you can find. It includes 1000 LUTs in 12 different categories. They are all available in 3D LUT format. As a bonus, you’ll also get a few presets for light leaks and VHS film looks.
350 Cinematic Premiere Pro LUTs
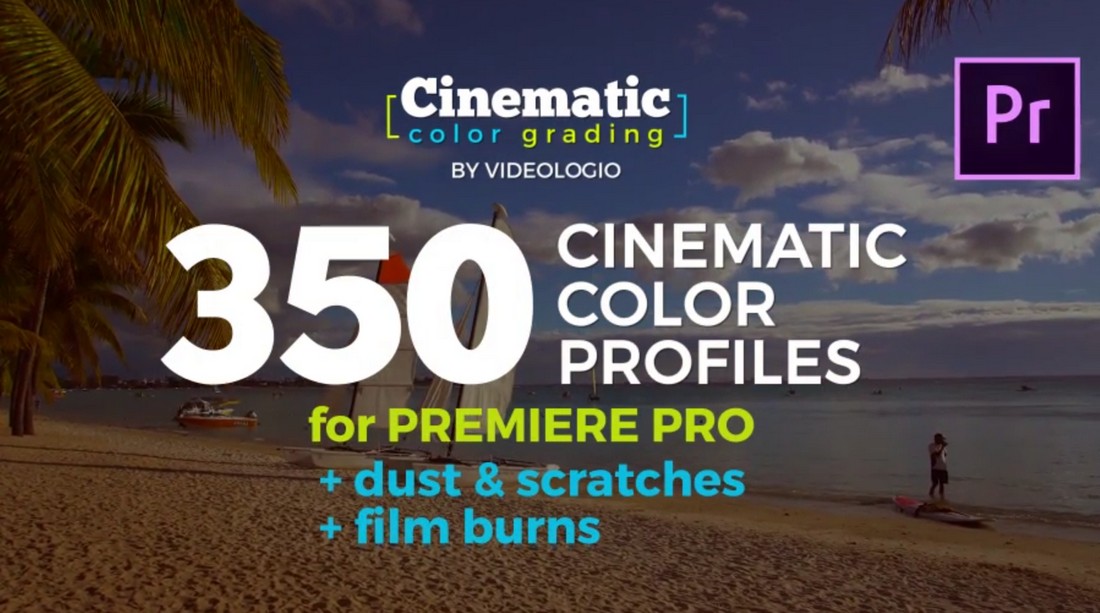
Another collection of LUTs or color grading profiles for Premiere Pro. This collection features 350 LUTs with different film looks. And it comes with a tutorial as well.
Extended Motion Kit – 200+ LUTs & Presets

This is a bundle of motion elements designed for After Effects. It features many useful presets and templates, including 200 LUTs you can use in Premiere Pro and 100 animated film filters.
California Video LUTs for Premiere Pro
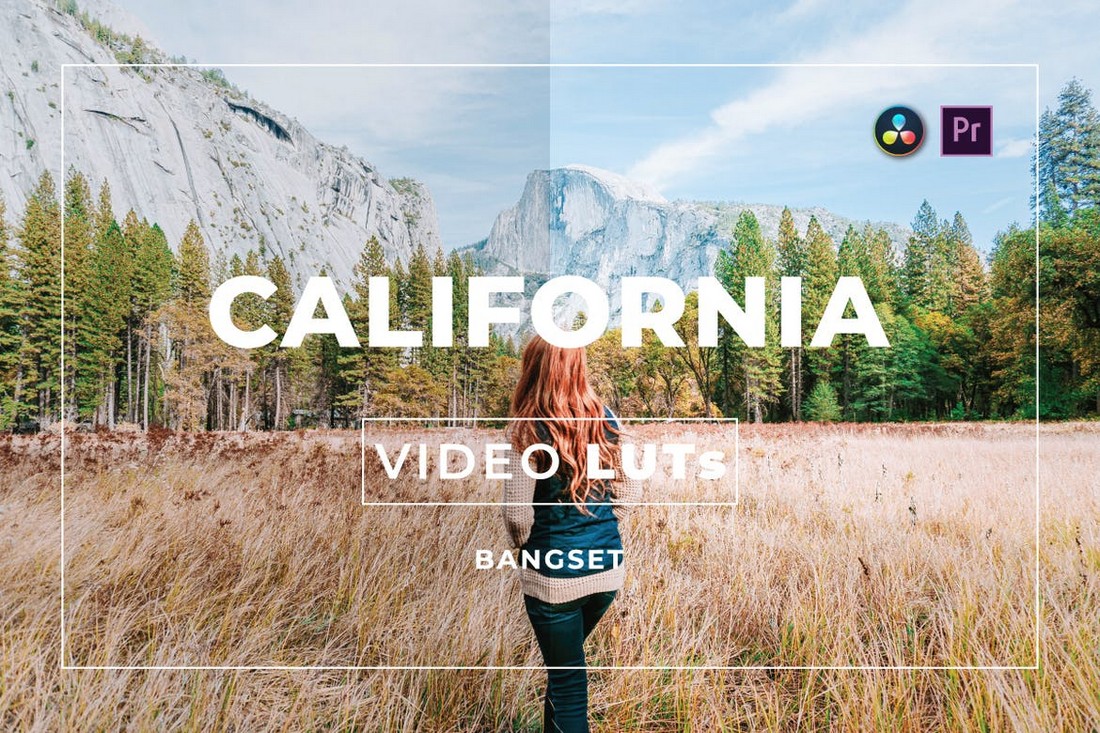
This collection of LUTs feature color presets for optimizing outdoor and nature-themed video footage. There are 20 LUTs in this bundle.
Cinematic Tones – LUTs Pack for Premiere Pro

You can create a modern cinematic vibe in your videos using the LUTs in this pack. It includes 5 LUTs designed by professional video editors.
Airy Bright – Premiere Pro LUTs Bundle

The LUTs in this pack will allow you to add a bright and airy look to your videos. They are ideal for business and wedding video color grading.
Travel Film LUTs for Premiere pro

Easily optimize your travel vlogs and video footage using this collection of LUTs. You can get a head start in your color grading process with these presets.
Village Video LUTs for Premiere Pro
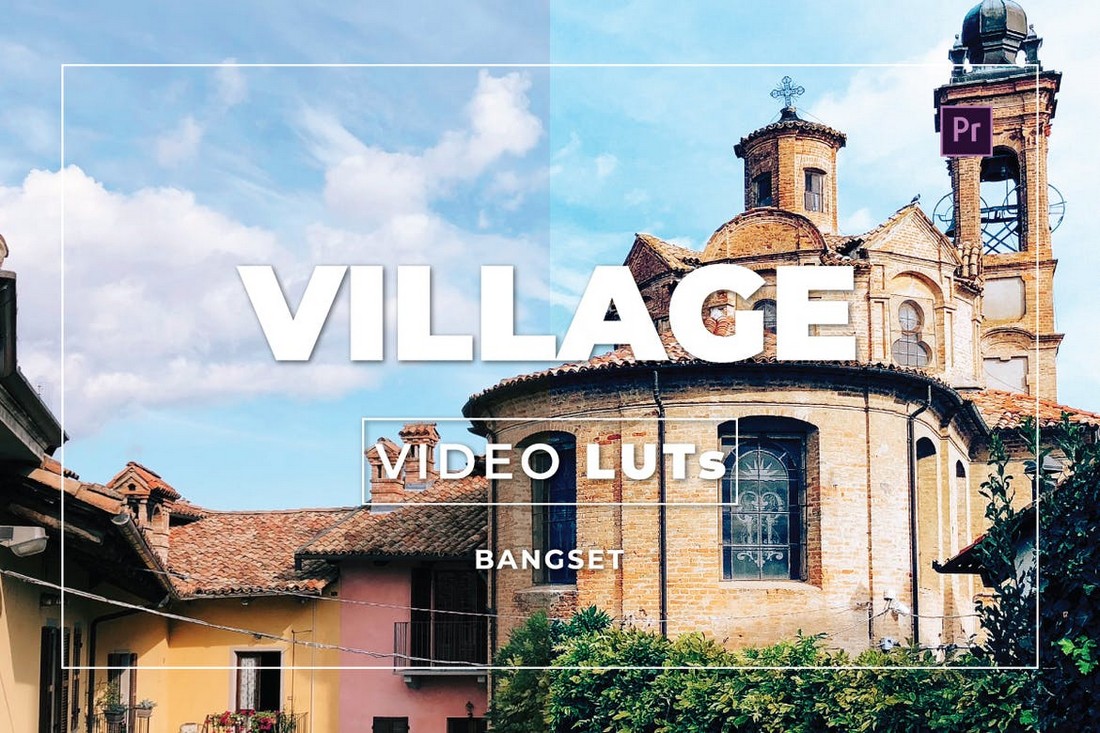
This collection of LUTs is designed to improve outdoor video footage. There are 10 LUTs in this pack that are suitable for both nature and urban videos.
How to Install LUTs in Premiere Pro
There are two ways to use LUTs in Premiere Pro. The simple way is to use LUTs via the Creative tab in the Lumetri Color Panel. But it doesn’t add the LUTs to the collection permanently.
To add LUTs to the Looks collection, follow these steps.
- Download your LUTs pack and extract the LUTs from the ZIP file
- Locate and copy the files with .Cube format. They are the file format for 3D LUTs
- Navigate to your Premiere Pro installation folder and locate the Lumetri LUTs folder (eg: C:\Program Files\Adobe\Premiere Pro CC\Lumetri\LUTS\Creative)
- Now paste all your new LUTs into this folder
- Open Premiere Pro (or restart the app if you had it opened) and your new LUTs will now appear in the Lumetri Color Panel >> Creative >> Looks
For video instructions, you can watch this tutorial.
Tips for Using LUTs
A few basics tips to keep in mind when using LUTs.
Color Correction is Important
Before you use LUTs, always color correct the footage. This is especially important when using LUTs on footage shot in different settings. Color correction is the key element to creating a consistent look in color grading.
Use Log Footage
Log footage is like a blank canvas for video editors. They are the perfect type of footage for using LUTs and color grading. So try to use Log footage when using LUTs.
Try Combining LUTs
A great way to create unique and uncommon looks for your projects is to experiment with LUTs. You can try combining two different LUTs to see what type of look matches the theme of your video.
Practice Makes Perfect
You should also learn not to overuse LUTs. Practice as much as you can before implementing LUTs in professional projects. You can grab some free log footage from stock video sites to practice using LUTs.
5 FAQs About LUTs
The more you understand LUTs the better your projects will be. Use these frequently asked questions about LUTs to get to know them a little more.
How to Make LUTs?
If you want to experiment with different color looks, you can also create your own LUTs by exporting the adjustments you make to your videos.
To do this, first, make all the necessary adjustments in the Lumetri Color panel. Once you’re done, click on the menu icon on the Lumetric Color panel, select Export .Cube, give you new LUT a name, and click Save.
How to Use LUTs in Photoshop?
Yes, you can use LUTs in graphics editing software like Photoshop and Affinity Photo as well. To use them in Photoshop, simply copy all your LUTs into the Presets\3DLUTS folder in the Photoshop installation folder.
Once the LUTs are copied, you can use them by creating Color Lookup adjustment layers in Photoshop.
How Do You Get LUTs?
You can download LUTs from various websites and marketplaces. There are both free and premium LUTs. Marketplaces like Envato Elements have great collections of LUTs for professionals.
Are LUTs Same As Presets?
LUTs and presets are two different methods you can use to make quick adjustments to your videos and photos. LUTs are for color grading, this means they only make adjustments to color values. Presets are capable of targeting many different adjustment settings and are superior to LUTs.
Are LUTs Filters?
While LUTs seem like a type of color filter they are more than that. LUTs create different color looks by making a much deeper level of adjustments to color values.