How to Backup A WordPress Site
Imagine one day you wake up to read an email from your web host telling you about a server disk malfunction that wiped out your entire website (along with their backups). How will you save your site?
Protecting your website from online threats is a crucial part of securing your business. You’ll never know when your website might get hacked, infected by a malware, or run into a server malfunction.
This is especially the case for WordPress sites. In fact, according to a Sucuri report based on 34,371 malware infected websites, WordPress was the most commonly infected CMS of 2017.
That doesn’t mean WordPress is a bad platform to build a website. It’s just a better target for hackers since WordPress is used by 30% of the web.
No matter how secure your website is, hackers will always find a way to get through the firewalls. The best way to prepare for such an event is to have a backup plan of your own.
Setting up your own system to backup your WordPress site will give you the extra protection you need to keep your site safe from hackers and server malfunctions. In this post, we’ll show you how and why to backup a WordPress site in a few simple steps.
Why WordPress Backups Are Important
Most web hosting providers now offer free daily backups with their hosting plans. And one of the biggest mistakes users make is solely relying on this service to keep their sites safe.
What most people don’t know is that their shared hosting providers might often store website backup files on the same server disk where your website is stored. That means if a server disk gets corrupted or infected by a malware, it will most likely affect your backup files as well.
Why take that risk when you can create your own backup solution with a few simple clicks? All it takes is a simple WordPress plugin and a free account on a third-party cloud storage service.
What’s Included In A Website Backup?
Before we get into the hands-on tutorial, it’s important to have a basic understanding of what’s included in a backup file and how WordPress works.
A WordPress website consists of three parts:
- Website Database: This is where all the user data, published posts, and pages are stored. It’s the most important part of a WordPress website.
- WP-Content: WP-Content is the folder where all your images, theme files, and plugin files are stored.
- WordPress Core: This includes the core files of the WordPress installation. Unless your site depends on a specific version of WordPress, you don’t need to backup the core files as it can be downloaded from the WordPress website at any time.
Most WordPress backup plugins will allow you to choose which parts of your website to include in a backup file. Depending on your website setup, you can either choose to backup all parts or to backup only the most important parts to save space and resource usage.
Free vs Premium WordPress Backup Plugins
When it comes to WordPress backup plugins, you’ll have two options to choose from: Free or Premium. The main difference between these two options is the simplicity and storage use.
While free plugins depend on third-party cloud storage services like Dropbox to store your website backups, premium plugins will offer private storage solutions for storing the backups.
Premium options are also easier to use since they feature more polished and beginner-friendly user interfaces and one-click restore functions for restoring a site from a backup.
5 Best WordPress Backup Plugins
Thankfully, there are many great plugins you can use to backup a WordPress site. Here are the top 5 plugins you can use for the job.
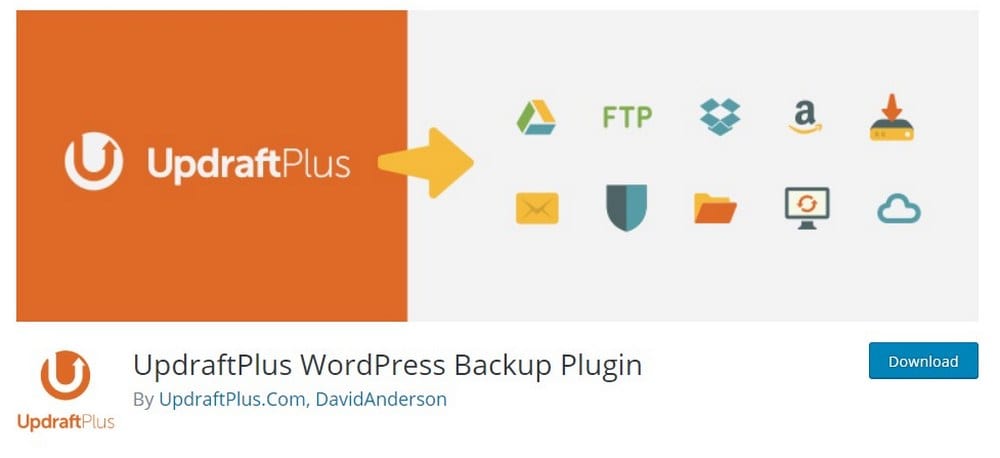
1. UpdraftPlus
- Price: Free
- Main Features: Automatic backups, one-click restore
UpdraftPlus is probably the only free backup plugin available on WordPress that has a one-click restore function. The plugin allows you to setup automatic backups according to a schedule and easily restore a website from a backup within the WordPress admin dashboard.
The plugin also supports Dropbox, Google Drive, and Amazon S3 for backup storage options.
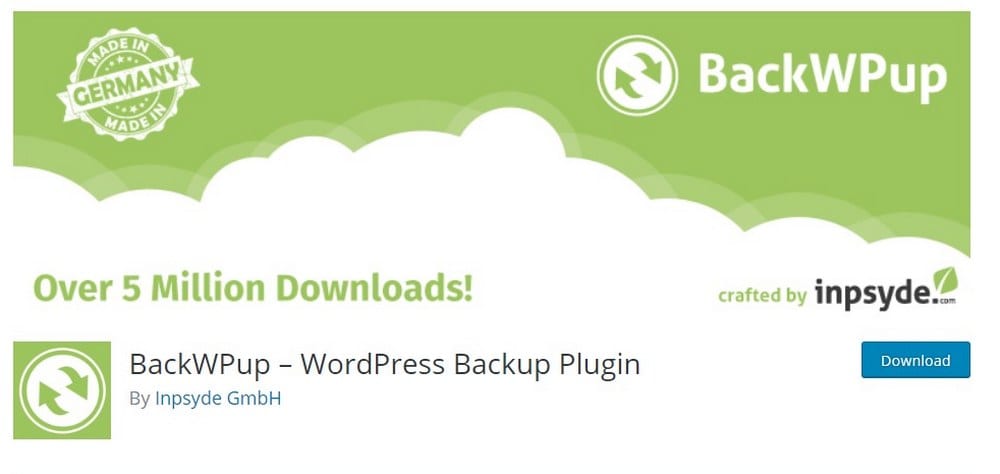
2. BackWPup
- Price: Free
- Main Features: Schedule automatic backups, customized backups
BackUPup is another great free backup plugin you can use to backup all parts of your website. It even lets you choose which parts to backup and setup scheduled backups. The only downside is that it requires a bit of technical knowledge to restore your site from a backup file created using the plugin.
BackUPup supports Dropbox, Amazon S3, and FTP downloads for storing backups.
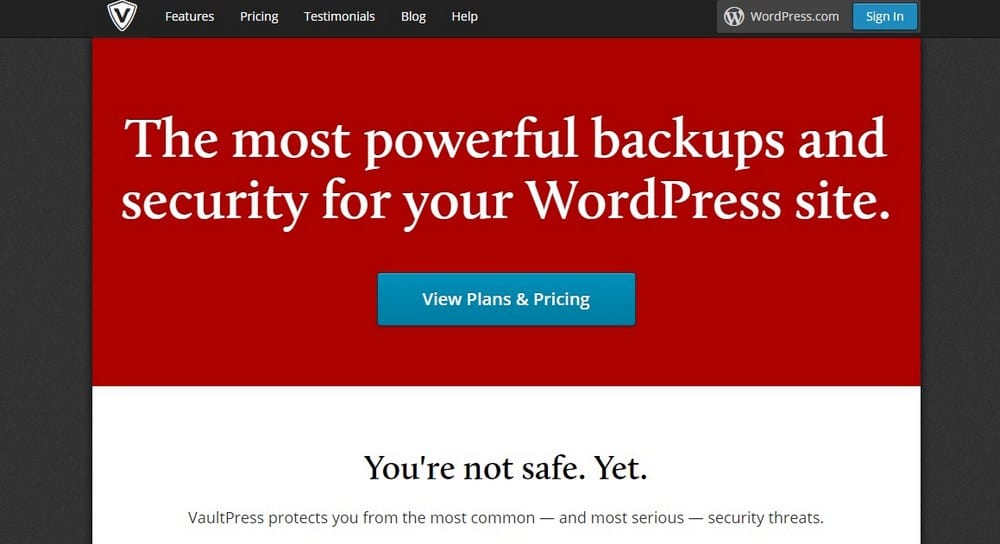
3. VaultPress
- Price: $39 per year
- Main Features: Private storage, 30-day archive, one-click restore
VaultPress is a premium backup plugin developed by Automattic, the same developers behind WordPress software. The plugin includes many benefits such as brute force protection, uptime monitoring, a 30-day backup archive, and more.
VaultPress stores the backup files in its own secure servers, which also powers the WordPress.com sites.
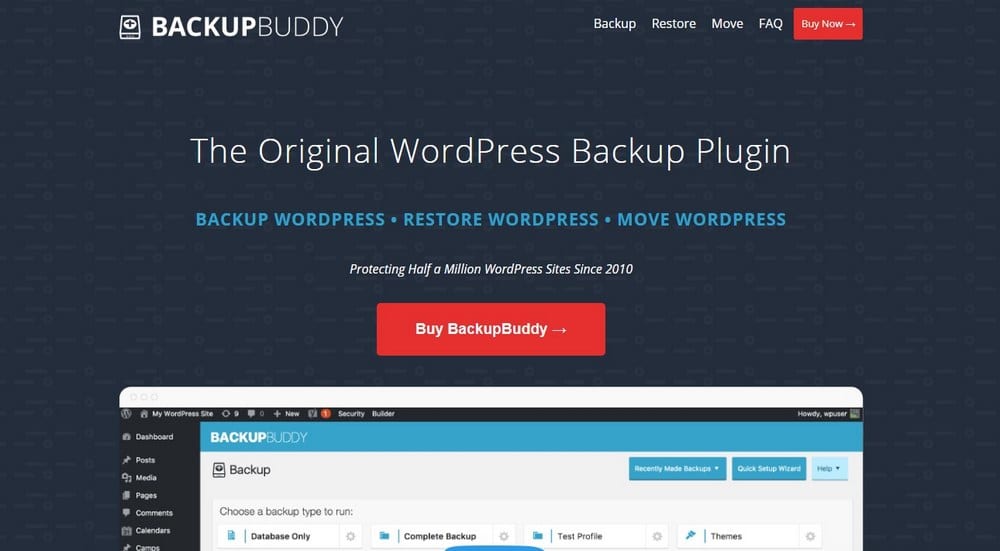
4. BackupBuddy
- Price: $80
- Main Features: 1GB private storage, restore individual files
BackupBuddy is a plugin most suitable for advanced users who prefer more control over their backup files. The basic pricing plan allows you to backup 1 website to a private storage of 1GB space for a one-time price of $80.
A useful function of the plugin is the ability to backup and restore individual files, like .PHP files, HTML files, and CSS stylesheets.
5. BlogVault
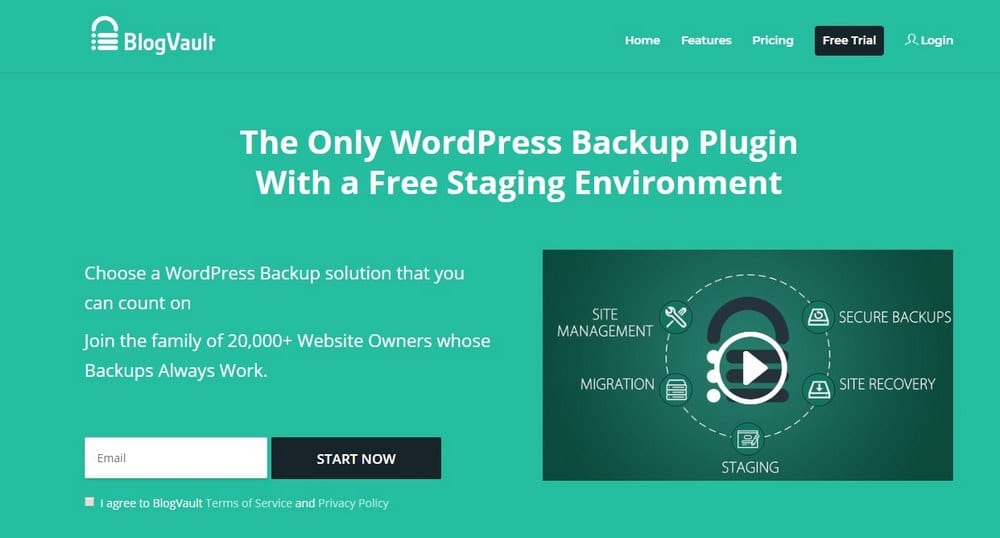
- Price: $89 per year
- Main Features: Automatic backups, one-click restore & migrate
BlogVault is a complete backup solution that’s best for larger WordPress websites with bigger files. The platform allows you to setup automatic backups, one-click migration, and restores.
BlogVault comes with its own private storage option and supports third-party storage services, including Dropbox and Amazon S3.
Getting Started
UpdraftPlus is a trusted plugin that functions great without taking up a lot of server resources. Since it’s also free and available to everyone, we’re going to use UpdraftPlus to show you how to backup a WordPress site.
Step 1: Install UpdraftPlus
Get started by installing the UpdraftPlus plugin.
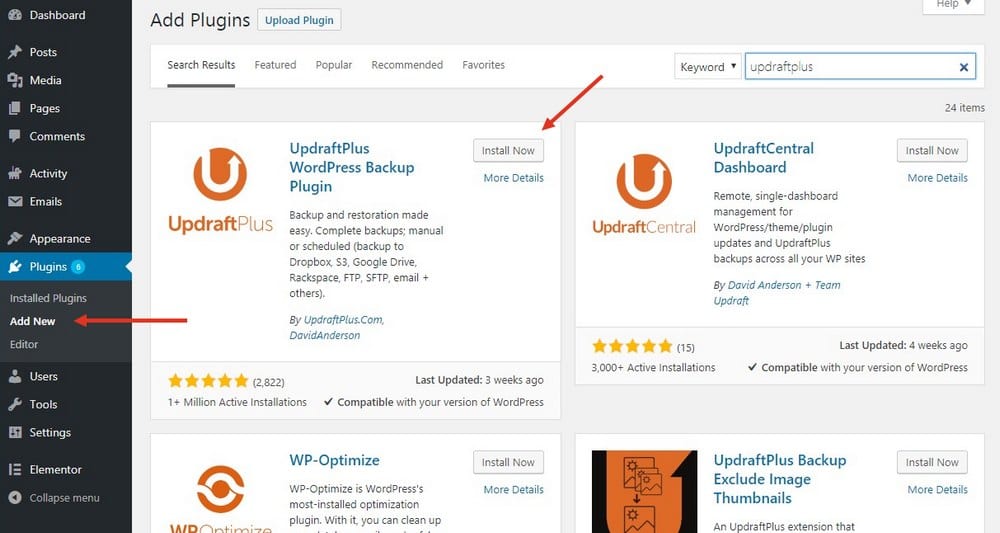
Login to your WordPress admin dashboard and go to Plugins >> Add New. Then search for UpdraftPlus and install the plugin.
Once the installation is complete, click Activate to enable the plugin.
Step 2: Customize Settings
Head over to Settings >> UpdraftPlus Backups page to customize plugin options and personalize the backup settings.
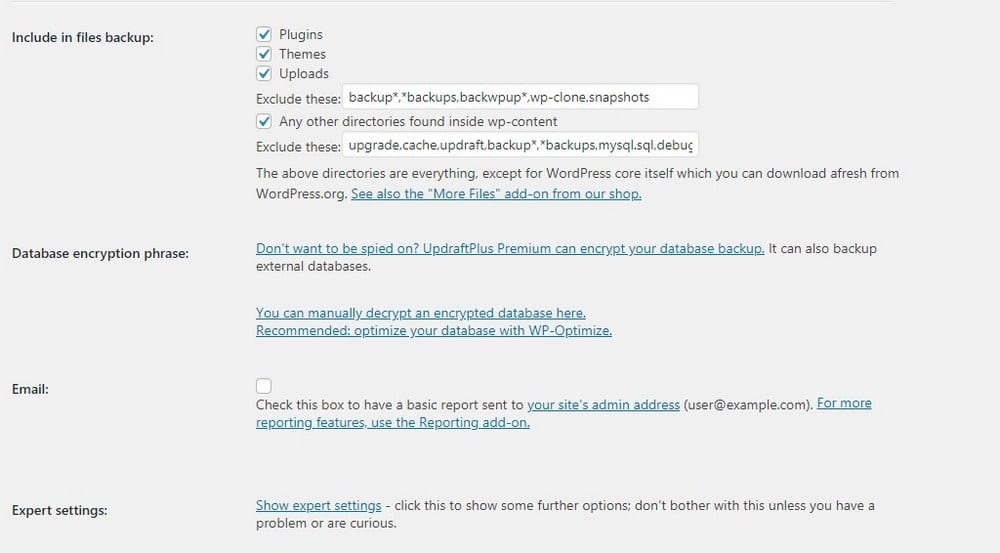
From the settings page, you can choose which parts of your website to include in your backup files. And choose to exclude specific folders and files from the backups.
If you’re not sure how to edit the settings, you can leave them as it is.
Step 3: Choose A Storage Option
UpdraftPlus offers many different storage options for backing up your website. Simply choose your preferred storage option and follow the instructions to integrate it with the plugin.
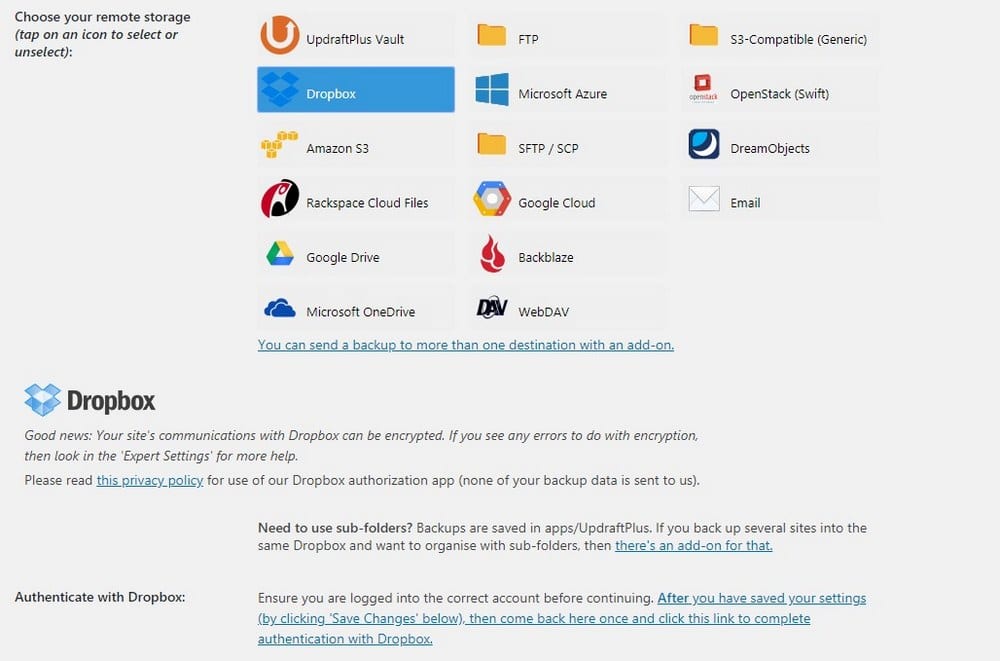
To use Dropbox as your backup files storage, choose Dropbox from the remote storage list and click on the Save Changes button.
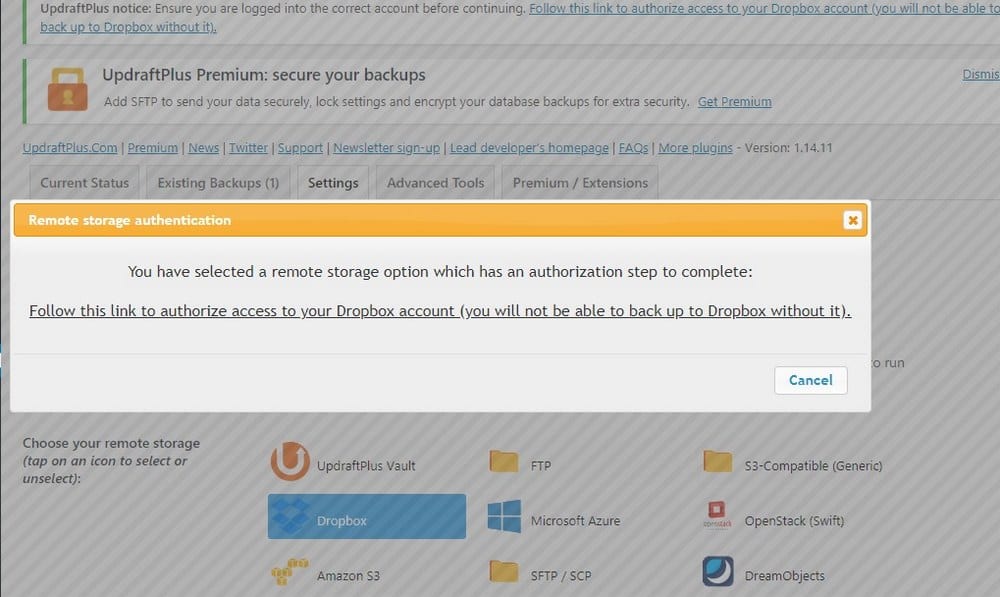
This will open a new window with a link asking you to authorize the plugin to access your Dropbox account. Don’t worry, the plugin will only be able to access its own folder in your Dropbox account.
Simply follow the link, log in to your Dropbox account, and grant UpdraftPlus to store backups in your Dropbox.
Step 4: Setup Automatic Backups
From the Settings page, you can also choose a schedule to automatically backup your website daily, weekly, or monthly.
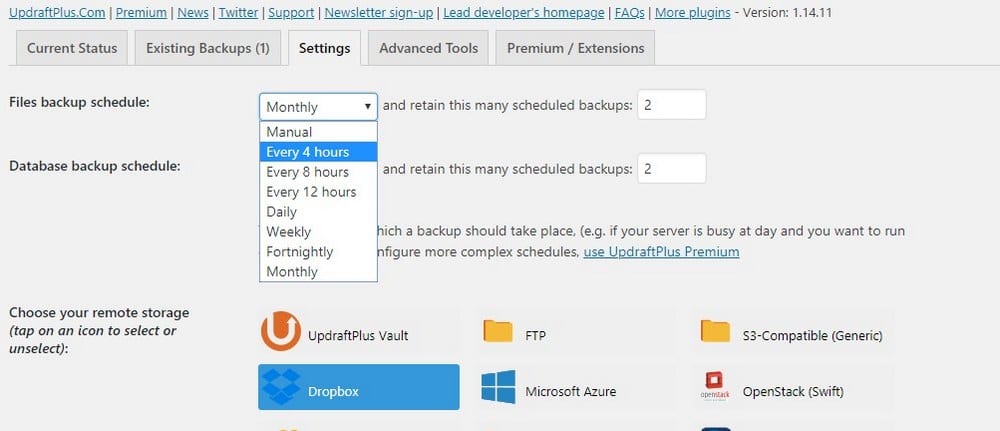
You can also choose how many backups you need to keep in your storage. Having 2 backups at a time is more than enough.
Always remember to hit the Save button after making any changes.
How To Restore Data From A Backup
Restoring from a backup file using UpdraftPlus is easy.
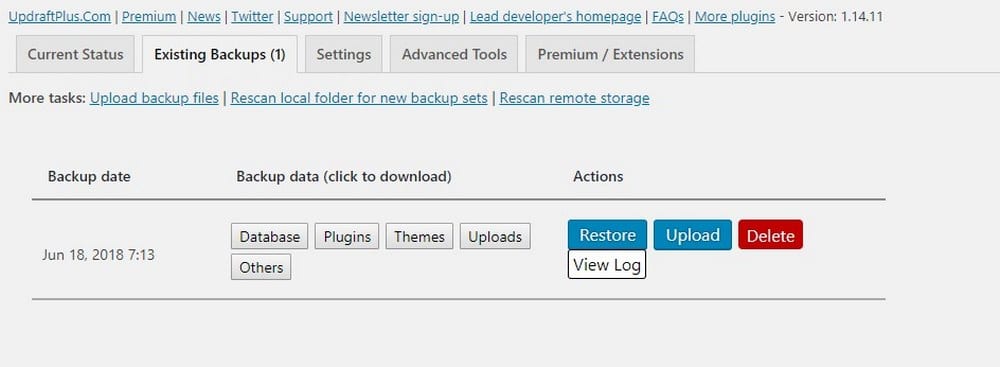
Go to the Existing Backups page and click on the Restore button to start the restoration process. The plugin also lets you download the backup files individually to your computer as well.
Summary
There you go. Now you have your own backup solution keeping your website safe from hackers. And it only took a few minutes to set it all up.
Make sure to check on your plugin dashboard to see if the backups are being made according to schedule. And monitor server resource usage to ensure the backups won’t cause website downtimes.