How to Change Font Color in WordPress (Step by Step Guide)
One of the best ways to give your website a personalized and branded look is to use custom colors. This includes changing the color of your fonts.
In this short guide, we’ll walk you through the process on how to change font color in WordPress. With this method, you can permanently change the font color for specific elements of your website. Like having different colors for your headings and links.
Most premium WordPress themes allow you to easily change fonts and font color using the built-in customizer. Don’t worry, if your theme doesn’t have this function, this guide will help you get the job done.
Let’s dive in.
How to Change Font Color in WordPress
There are a few ways you can change text color in WordPress. In fact, you can even use the WordPress post editor to easily change text color. But those methods are temporary.
By following these steps, you can change the font color for specific text elements permanently. Here’s how.
Method 1: Use a Plugin
If you’re new to WordPress, using a plugin is the easiest way to change the font colors. We’re going to use Styleguide plugin for this task. It’s a great free plugin you can use without prior experience in web design.
For advanced customization, you can use the FontPress premium plugin.
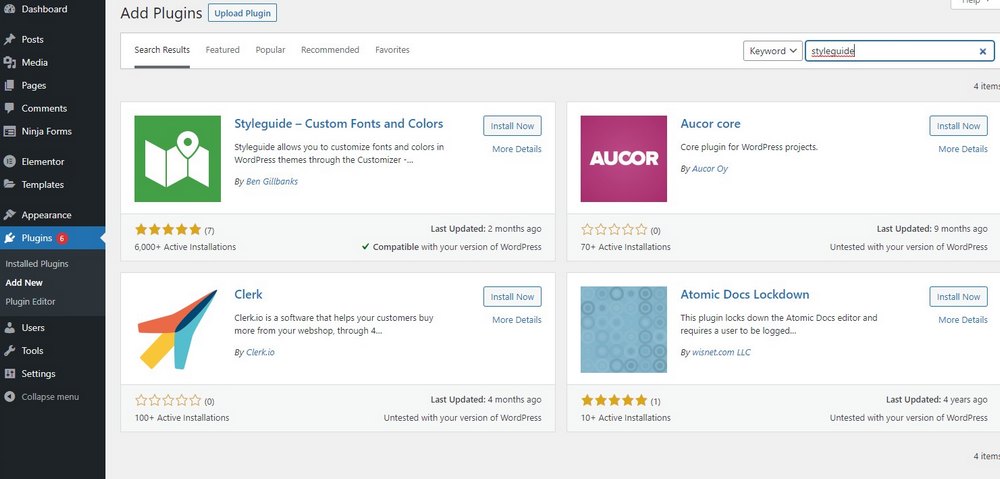
First, go to Plugins >> Add New and install the Styleguide plugin. Then make sure to activate it.

Now, you can go to Appearance >> Customize to find the new Colors & Fonts panel.

From this panel, you can easily change the color of the links and other text elements. You can even use it to change the font.
Depending on the theme you’re using, the plugin will limit how much you can customize. If you don’t see any color options in this panel, use the next method.
Method 2: Add Custom CSS
Another simple and more effective way to change font color in WordPress is to use custom CSS.
By targeting specific text elements on your website, you can change their color using CSS code.
For example, if you want to change the color of your H2 sub-headings, you can use the following code.
h2 {
color: red;
}
You can replace the H2 with other text elements, like H3, a, a:hover, a:visited for links. And also change the Color values with hex color codes to change appearance.
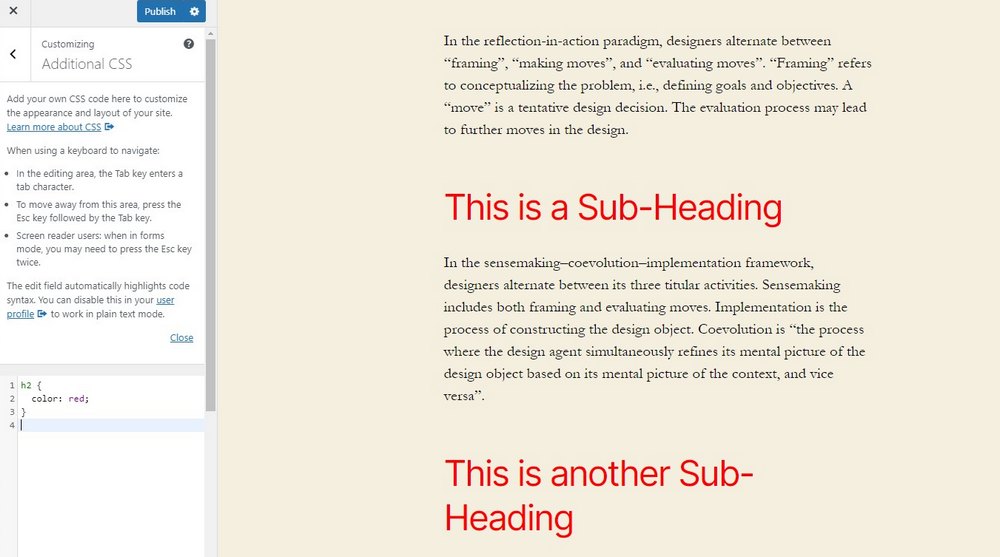
Go to Appearance >> Customize and then find the Custom CSS tab. Then add this CSS code into the editor to change appearance. You’ll be able to see the changes in the live preview.
You can learn more about font usage in WordPress with this Codex guide. And about CSS font style property here.
How to Add Custom Fonts in WordPress
You can also add custom fonts to WordPress. If your theme doesn’t support custom fonts, the easiest way to add fonts is to use a plugin. Or use the Styleguide plugin that we showed earlier.
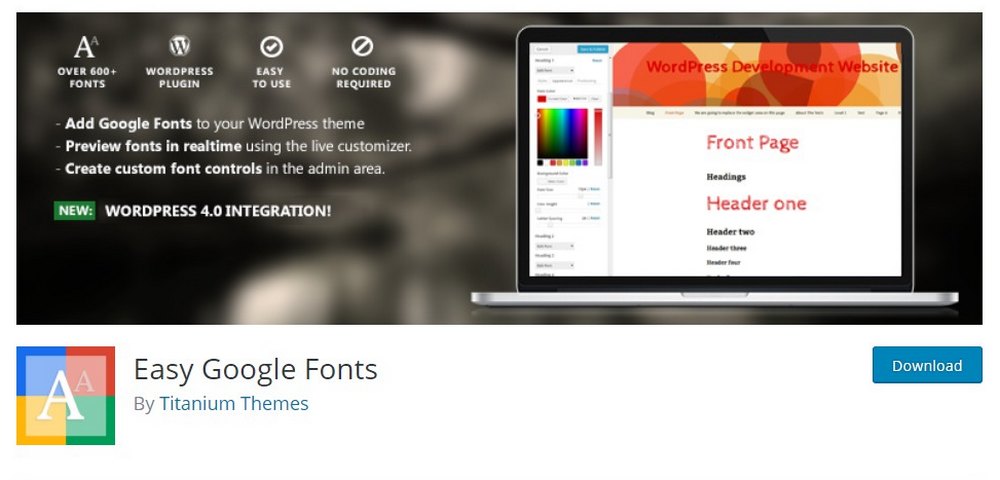
Easy Google Fonts is a better and free plugin you can use for this task. It allows you to access the entire Google Fonts library and change your website fonts quite easily.
You can read our full guide on how to use custom fonts to learn more about this process.
Conclusion
Using a custom font and changing the colors of website text are great ways you can personalize the design of your WordPress website. It will surely make your website stand out from the crowd.
If you want to take things further and revamp your website with a new design, be sure to check out our exclusive premium themes bundle. It includes more than 60 for one affordable price.
Looking for WordPress hosting? We use Kinsta. They offer world-class WordPress hosting, built to keep your website fast, secure, and always online.