How to Add Fonts to Photoshop in 60 Seconds
If you’re new to Photoshop and struggling to find a way to add new fonts to use in your designs, then this guide is for you.
In this quick and easy tutorial, we’ll show you how to add fonts in Photoshop using a couple of methods. We’ll walk you through the process, step by step.
It doesn’t matter if you’re a beginner or an expert we all had trouble installing fonts at some point in our careers. With the help of this guide, you’ll be able to learn it all by yourself.
The best part is when you install a font in either Windows or Mac you get to use it across all the other apps you use. Including Photoshop, Illustrator, InDesign, Microsoft Word, and more. Let’s dive in a see how it works.
One Subscription: Unlimited Access to Stunning Premium Fonts
Get every varied font and typeface you could ever need with one simple subscription. From just $16, get unlimited access to thousands of fonts, typefaces, graphics, templates, photos and illustrations.
How to Add Fonts to Photoshop (Windows)
Before we get started on the tutorial, one important thing you should know is that in order to add fonts to Photoshop, you have to first install them on your computer.
This process is very easy. And once the font is installed on your computer, you’ll be able to use it in all the other software as well.
Here’s how you can install fonts in Windows computers.
Step 1: Download and Extract the Font Files
The first step is to download the font files. Go to any font marketplace and download the fonts.
Your downloaded font file will be available in your Downloads folder as a ZIP file.
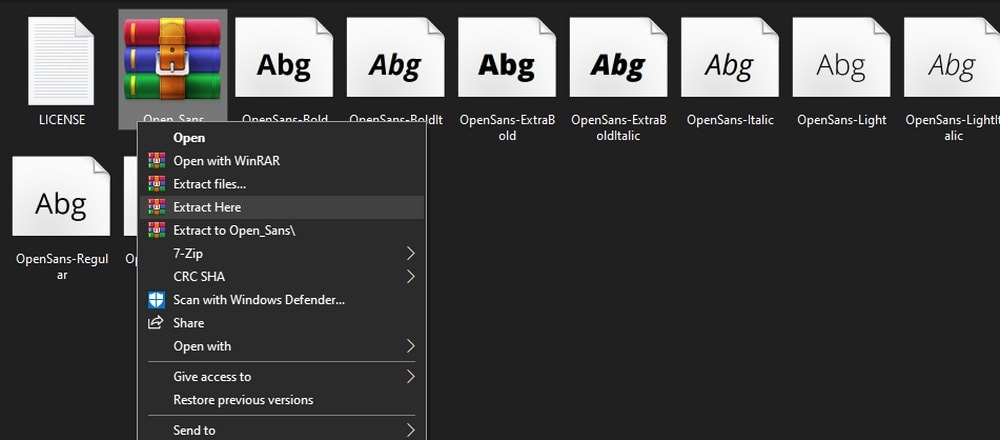
You need to extract this ZIP file to access the font files inside it.
Simple right-click on the ZIP file and choose Extract Files.
Once extracted, you’ll have all the font files available in the folder and ready to install.
Step 2: Install Fonts Individually
There are two ways to install fonts. If you only have just one or two font files to install, the easiest way to install is to use the font explorer.
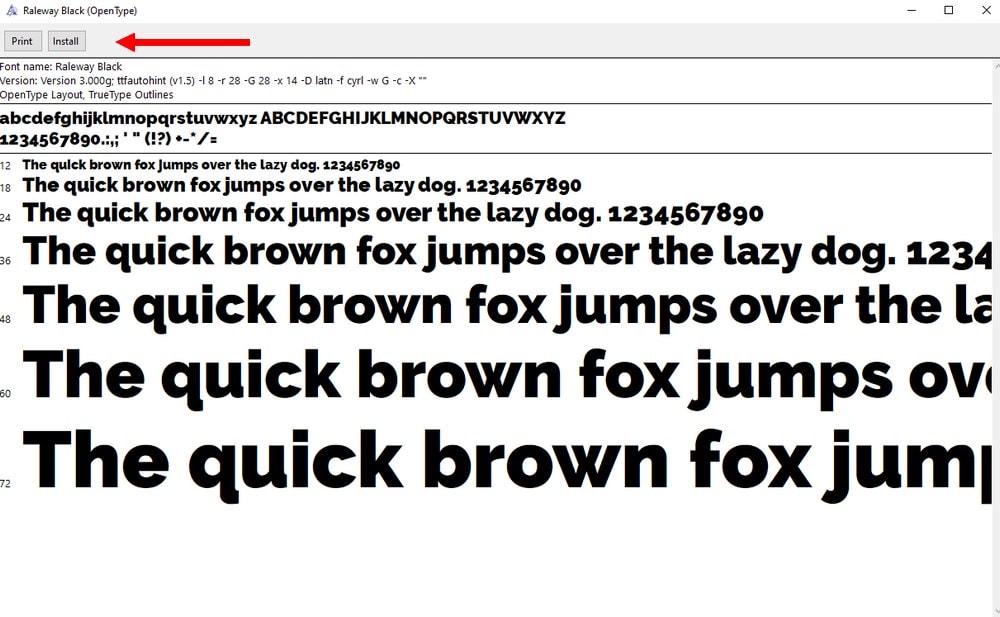
All you have to do is double-click on the font file. It will open the font explorer window. In this window, you’ll see an Install button on the top-left corner. Click this button and the font will be installed in less than a second.
Step 3: Install Multiple Fonts
If you have multiple font files to install, like an entire font family, installing them individually will be difficult. Follow the steps below to install fonts in batches.
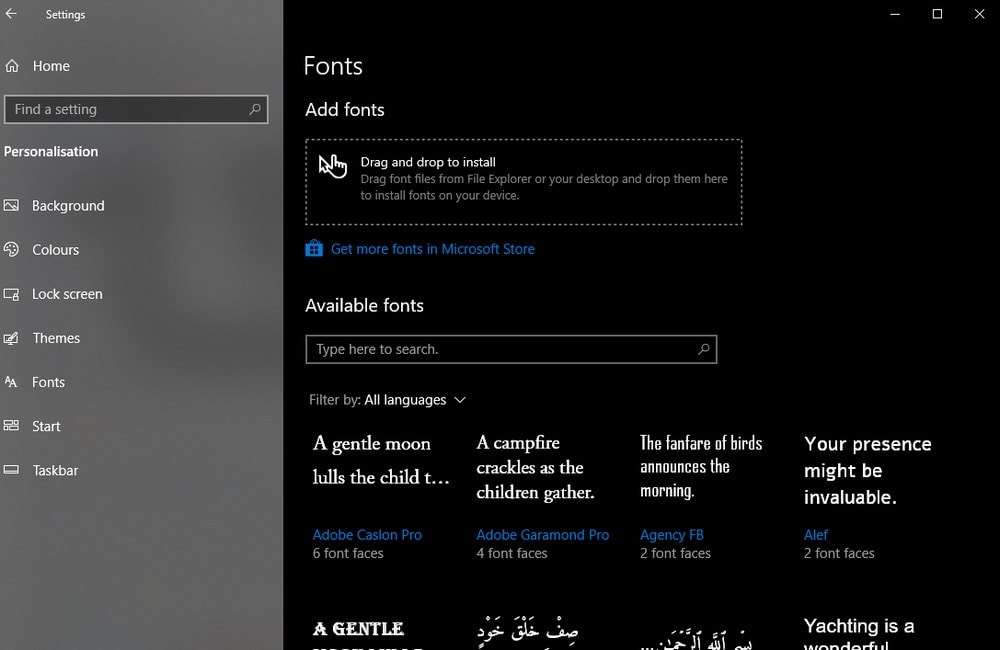
On your Windows computer, go to Settings >> Personalization >> Fonts. Or simply search for Fonts in the search bar.
Once you’re on this window, you can simply drag and drop all the font files ready to install onto this Fonts folder. And they will all be installed instantly.
How to Add Fonts to Photoshop (Mac)
Installing fonts on Mac computers is basically the same as installing fonts on Windows PCs.
First, follow the steps we showed earlier to download and extract the font files.
Then double-click on the font file and click on the Install button.
Or, to install multiple fonts, go to the Users >> Library >> Fonts folder. And copy-paste all the font files into the fonts folder.
That’s it.
Once you’ve installed the fonts on your computer, they will automatically be available in Photoshop. If the new fonts don’t show up immediately, try closing the app and launching it again.
Why Use Custom Fonts in Photoshop?
Whether you’re designing a post for social media or crafting a poster for an event, the text you use takes the center-stage of most designs. This makes the design of your font even more important. Sadly, the default fonts that come with Windows and Mac are pretty terrible. And they’ll limit your creativity.
Can you imagine if all designers used the same default fonts that come with Windows in all their designs? Then all the posters, flyers, and documents will look the same. That’s a nightmare you don’t even want to imagine.
As a professional designer, you need to use custom fonts in your designs to make them stand out. Custom fonts help make your designs look unique. As well as relevant. In fact, you should consider using a unique font for each of your designs.
Especially when it comes to Photoshop, custom fonts can be used to expand your creativity in design. For example, you can use unique font designs to craft logos and badges. Or even rasterize the type and modify the design of the letters (given you have the proper font license).
Thankfully, there are thousands of fonts you can download and use all around the web.
Best Places to Download Fonts
There are many great marketplaces you can use to download both free and premium fonts. Here are just a few that’s worth checking out.
Envato Elements
Envato Elements is one of the best places to download unique and premium fonts. Mainly because it gives you access to a collection of over 8,000 fonts for a single price. With the Envato Elements subscription, you also get unlimited downloads in all the other assets on the site, including graphic templates, icons, backgrounds, Photoshop actions, Lightroom presets, and much more.
GraphicRiver
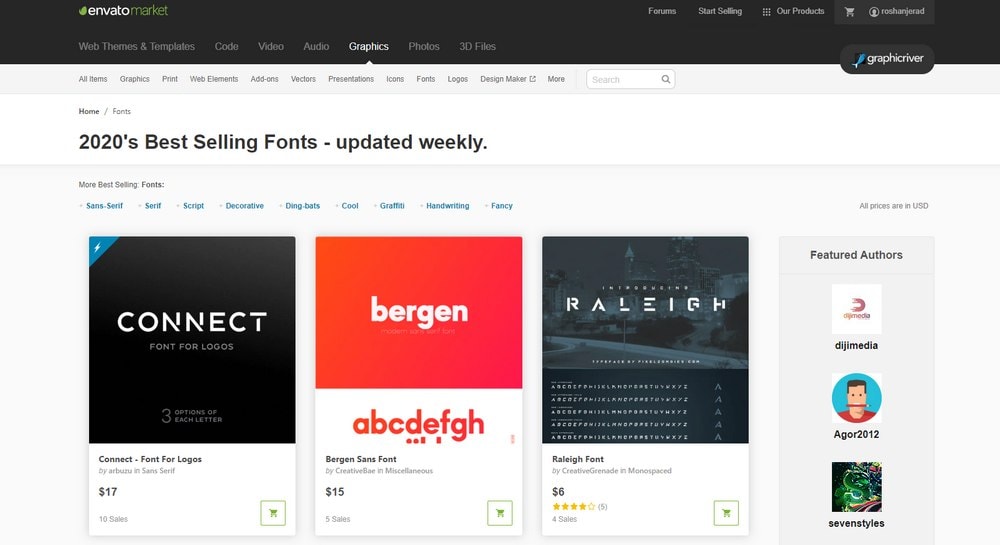
GraphicRiver also has a massive collection of premium fonts. You can search for fonts in a variety of categories. And buy on the fonts you want and use them with any of your projects, however you like, for as long as you want.
DaFont
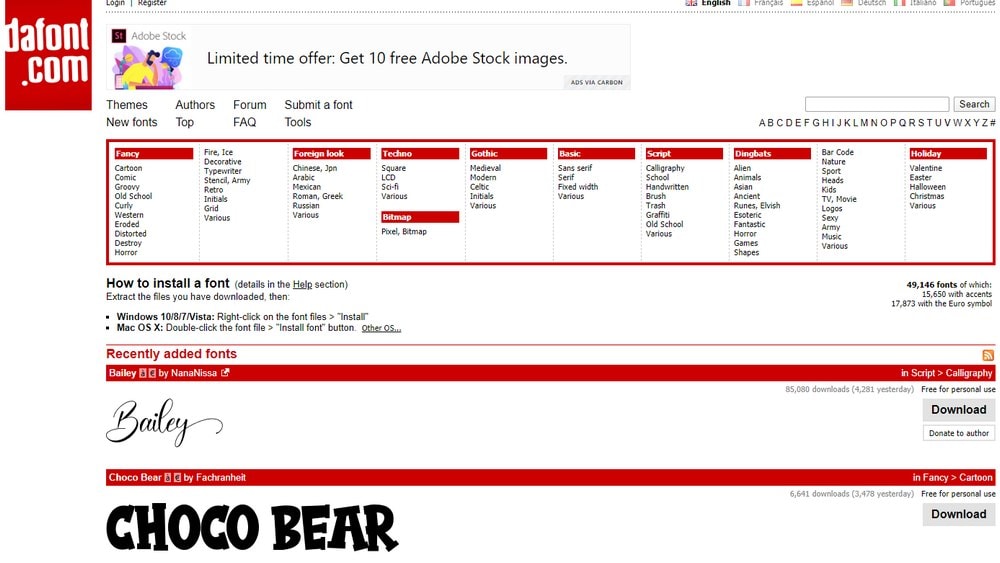
DaFont features a large collection of free fonts. It also lets you browse fonts in many different categories. However, keep in mind that most of the fonts on the site are only available for personal use.
Google Fonts
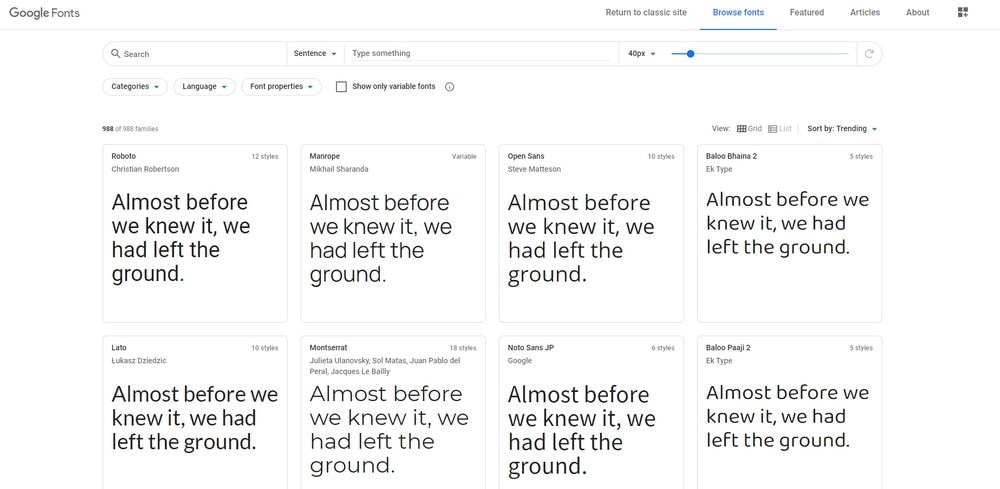
Most designers don’t know this but you can actually download and use most of the fonts available on Google Fonts with your print and digital designs. Almost all the fonts on the site are also free to use with commercial projects.
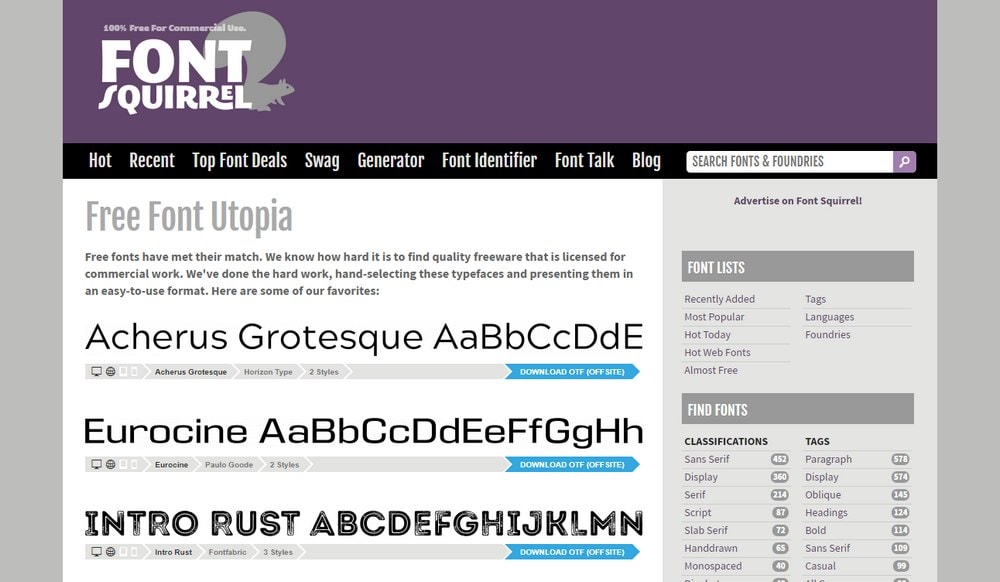
Font Squirrel
Font Squirrel is similar to DaFont. It has a large collection of fonts but they are mostly limited to personal use. It also includes fonts in both OTF and TTF formats.
5 FAQs On Using Fonts
These frequently asked questions (FAQs) about fonts will help you further understand how fonts work.
Can I Use Free Fonts in Client Projects?
Free fonts aren’t exactly free, most of the time. Some are only free for personal use. But some can be used in commercial projects, such as your client projects. When downloading free fonts, always check for the license to make sure if it’s free for commercial use.
What Are TTF and OTF Fonts?
TrueType and OpenType Fonts are two variations of fonts. TTF is an older version of the font files while the OTF is a modern version that includes lots of added features like alternate characters, more types of ligatures, and more. Generally, both types of fonts are fine for regular use.
How to Embed Fonts in a Website?
If you’re designing a website, you need to use a special type of fonts designed for the web called Web Fonts. You can find lots of web fonts on the Google Fonts website. And it even has a guide on embedding fonts on websites.
How to Rasterize Text in Photoshop?
If you’re designing a logo or a badge, rasterizing text allows you to modify and edit the letters of text. Simple go to the Layers panel in Photoshop. Right-click on the text layer you want to rasterize, and select Rasterize Type from the menu.
How to Add Fonts in Adobe Fonts (Typekit)?
If you have access to Adobe Creative Cloud, you’ll likely have access to Adobe Fonts (previously Typekit) as well. Adobe Fonts has a large collection of high-quality fonts you can use in your designs. Follow this guide to learn how to activate fonts in Adobe Fonts.
Conclusion
You’ll now be able to design more amazing graphics and projects with the help of custom fonts. And hopefully, start your own personal collection of fonts as well.
Be sure to explore our fonts collections to find inspiration for your next projects.
